Introduction
Installation
Installation Guide
This guide will walk you through the installation and setup process to ensure you are ready to start working on the Geospatial and Machine Learning modules of this project. Follow the steps below carefully.
Install Required Software
Install QGIS
Tip for Instructors!
It is recommended that the instructor(s) of the course, downloads QGIS beforehand, to ensure that all students have adequate access to QGIS, and the same version of the software. If you are not able to, the following instructions can guide the students on the best practice for installation.
- Visit the QGIS Download Page (if you have not done already).
- Choose the Long Term Release (3.34 LTR) version.
- Select your operating system (Windows, macOS, or Linux) and follow the installation instructions.
Online Coding Environment
Learning about Google Colab
What Is an Online Coding Environment?
For two of our modules, you will be using something called an online coding environment. An online coding environment is a web-based platform that lets you write, run, and test code entirely in your browser, no installation required! These environments provide a virtual workspace with a code editor, terminal or console, and often built-in libraries, so you can focus on learning and experimenting without worrying about setting up software on your computer. Because everything runs on cloud servers, you can access your projects from any device with an internet connection and collaborate with others in real time.
What Is Google Colab?
The online coding environment you will be using is called Google Colab. Google Colab (short for Colaboratory) is one of these online coding environments specifically designed for Python. It’s a free service provided by Google that looks and feels like a Jupyter Notebook (another very popular online code environment), allowing you to mix executable code cells with formatted text, images, and visualizations. Colab runs your code on Google’s cloud servers (including free access to GPUs), automatically saves your work to Google Drive, and makes it easy to share projects with classmates or colleagues via a simple link.
Why Use Google Colab?
Google Colab is popular because it removes many common barriers to getting started with programming and data analysis. You don’t need to install Python or any libraries on your local machine, just open a browser, sign in, and begin coding. That is it! Colab also provides free access to powerful compute resources (like GPUs) that would otherwise be expensive or difficult to set up. Additionally, its seamless integration with Google Drive and easy sharing options make it an ideal tool for collaboration, whether you’re working on school projects, research, or any coding tutorial.
Accessing Google Colab
Alright, lets get started firing up your very first Google Colab environment!
Important!
Students, please make sure to check with your instructor(s), that Google Colab and Google Collab Practice are not already installed on the computers you are using!
First, you are going to want to open up your internet browser and type in https://colab.research.google.com or follow this link here: Google Colab.
Sign in with your Google account (if you do not have one, go ahead and make one).
Once signed in, you should see a similar looking screen.
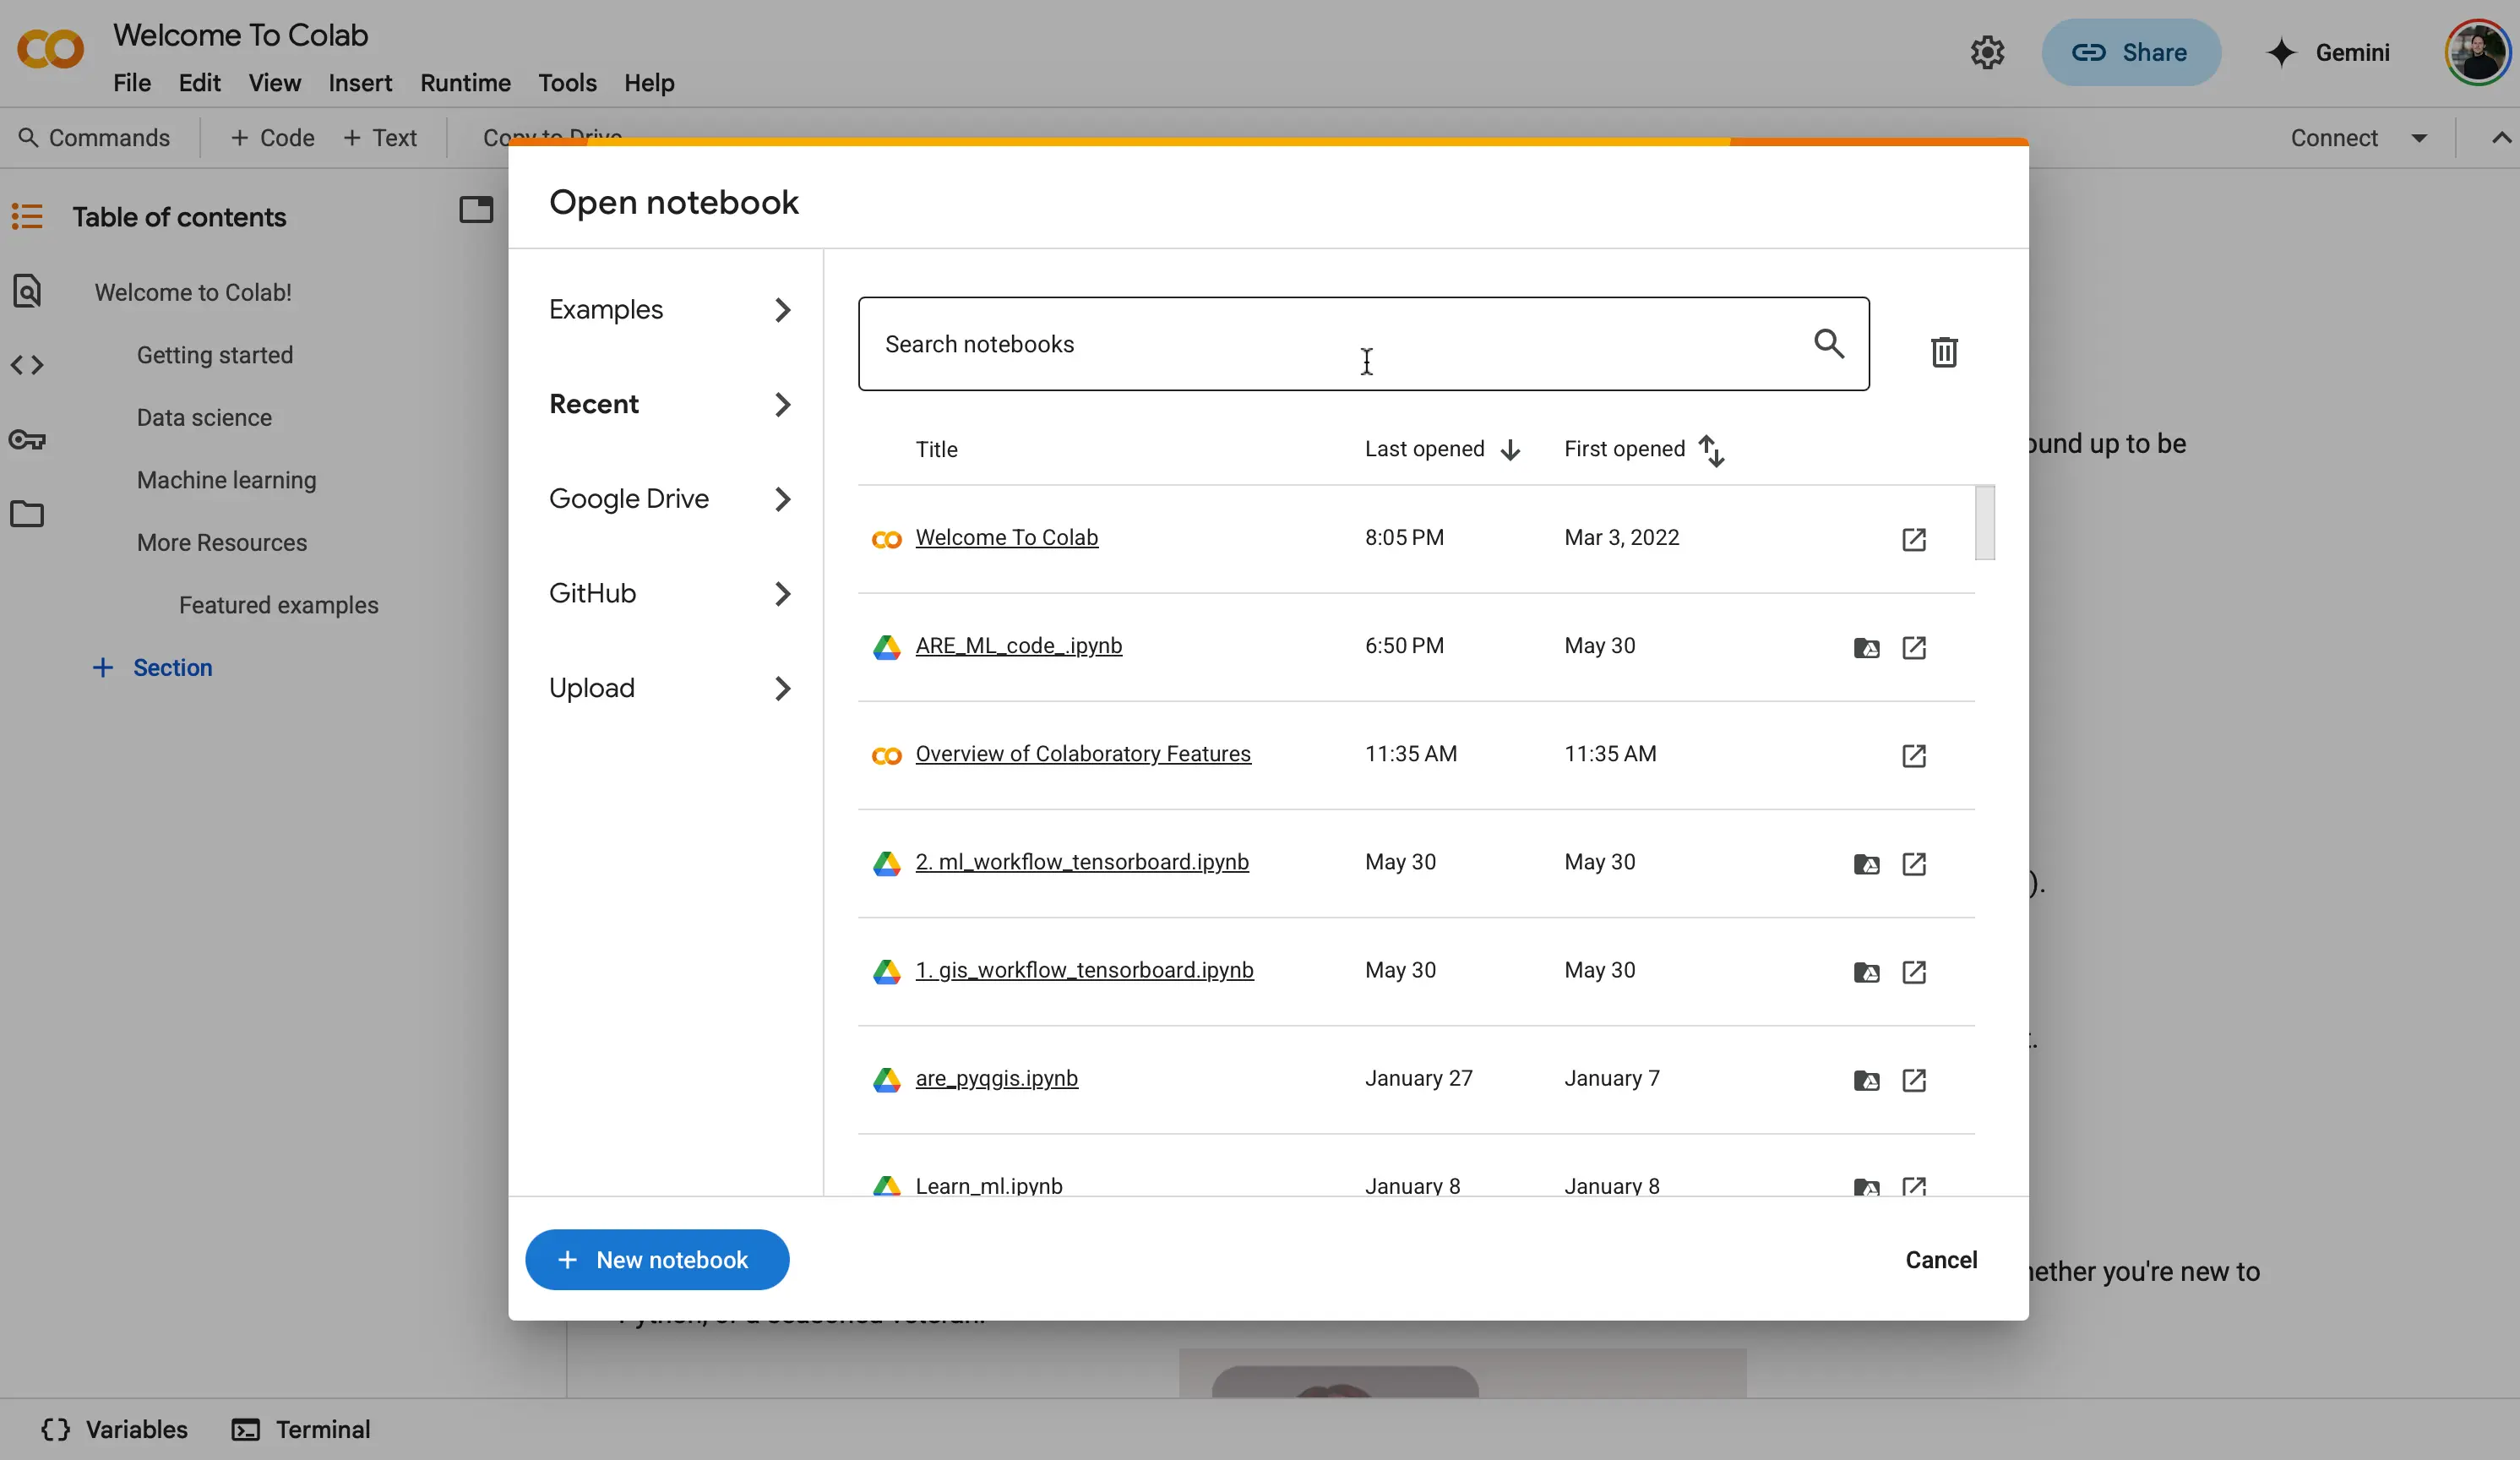
You should know!
If you have never used Google Colab before, you probably will not see any files in the
Recenttab. That is okay, we will be moving our files to our environment later in the activity.From there, you are going to want to hit the
New notebookbutton at the bottom left of the screen.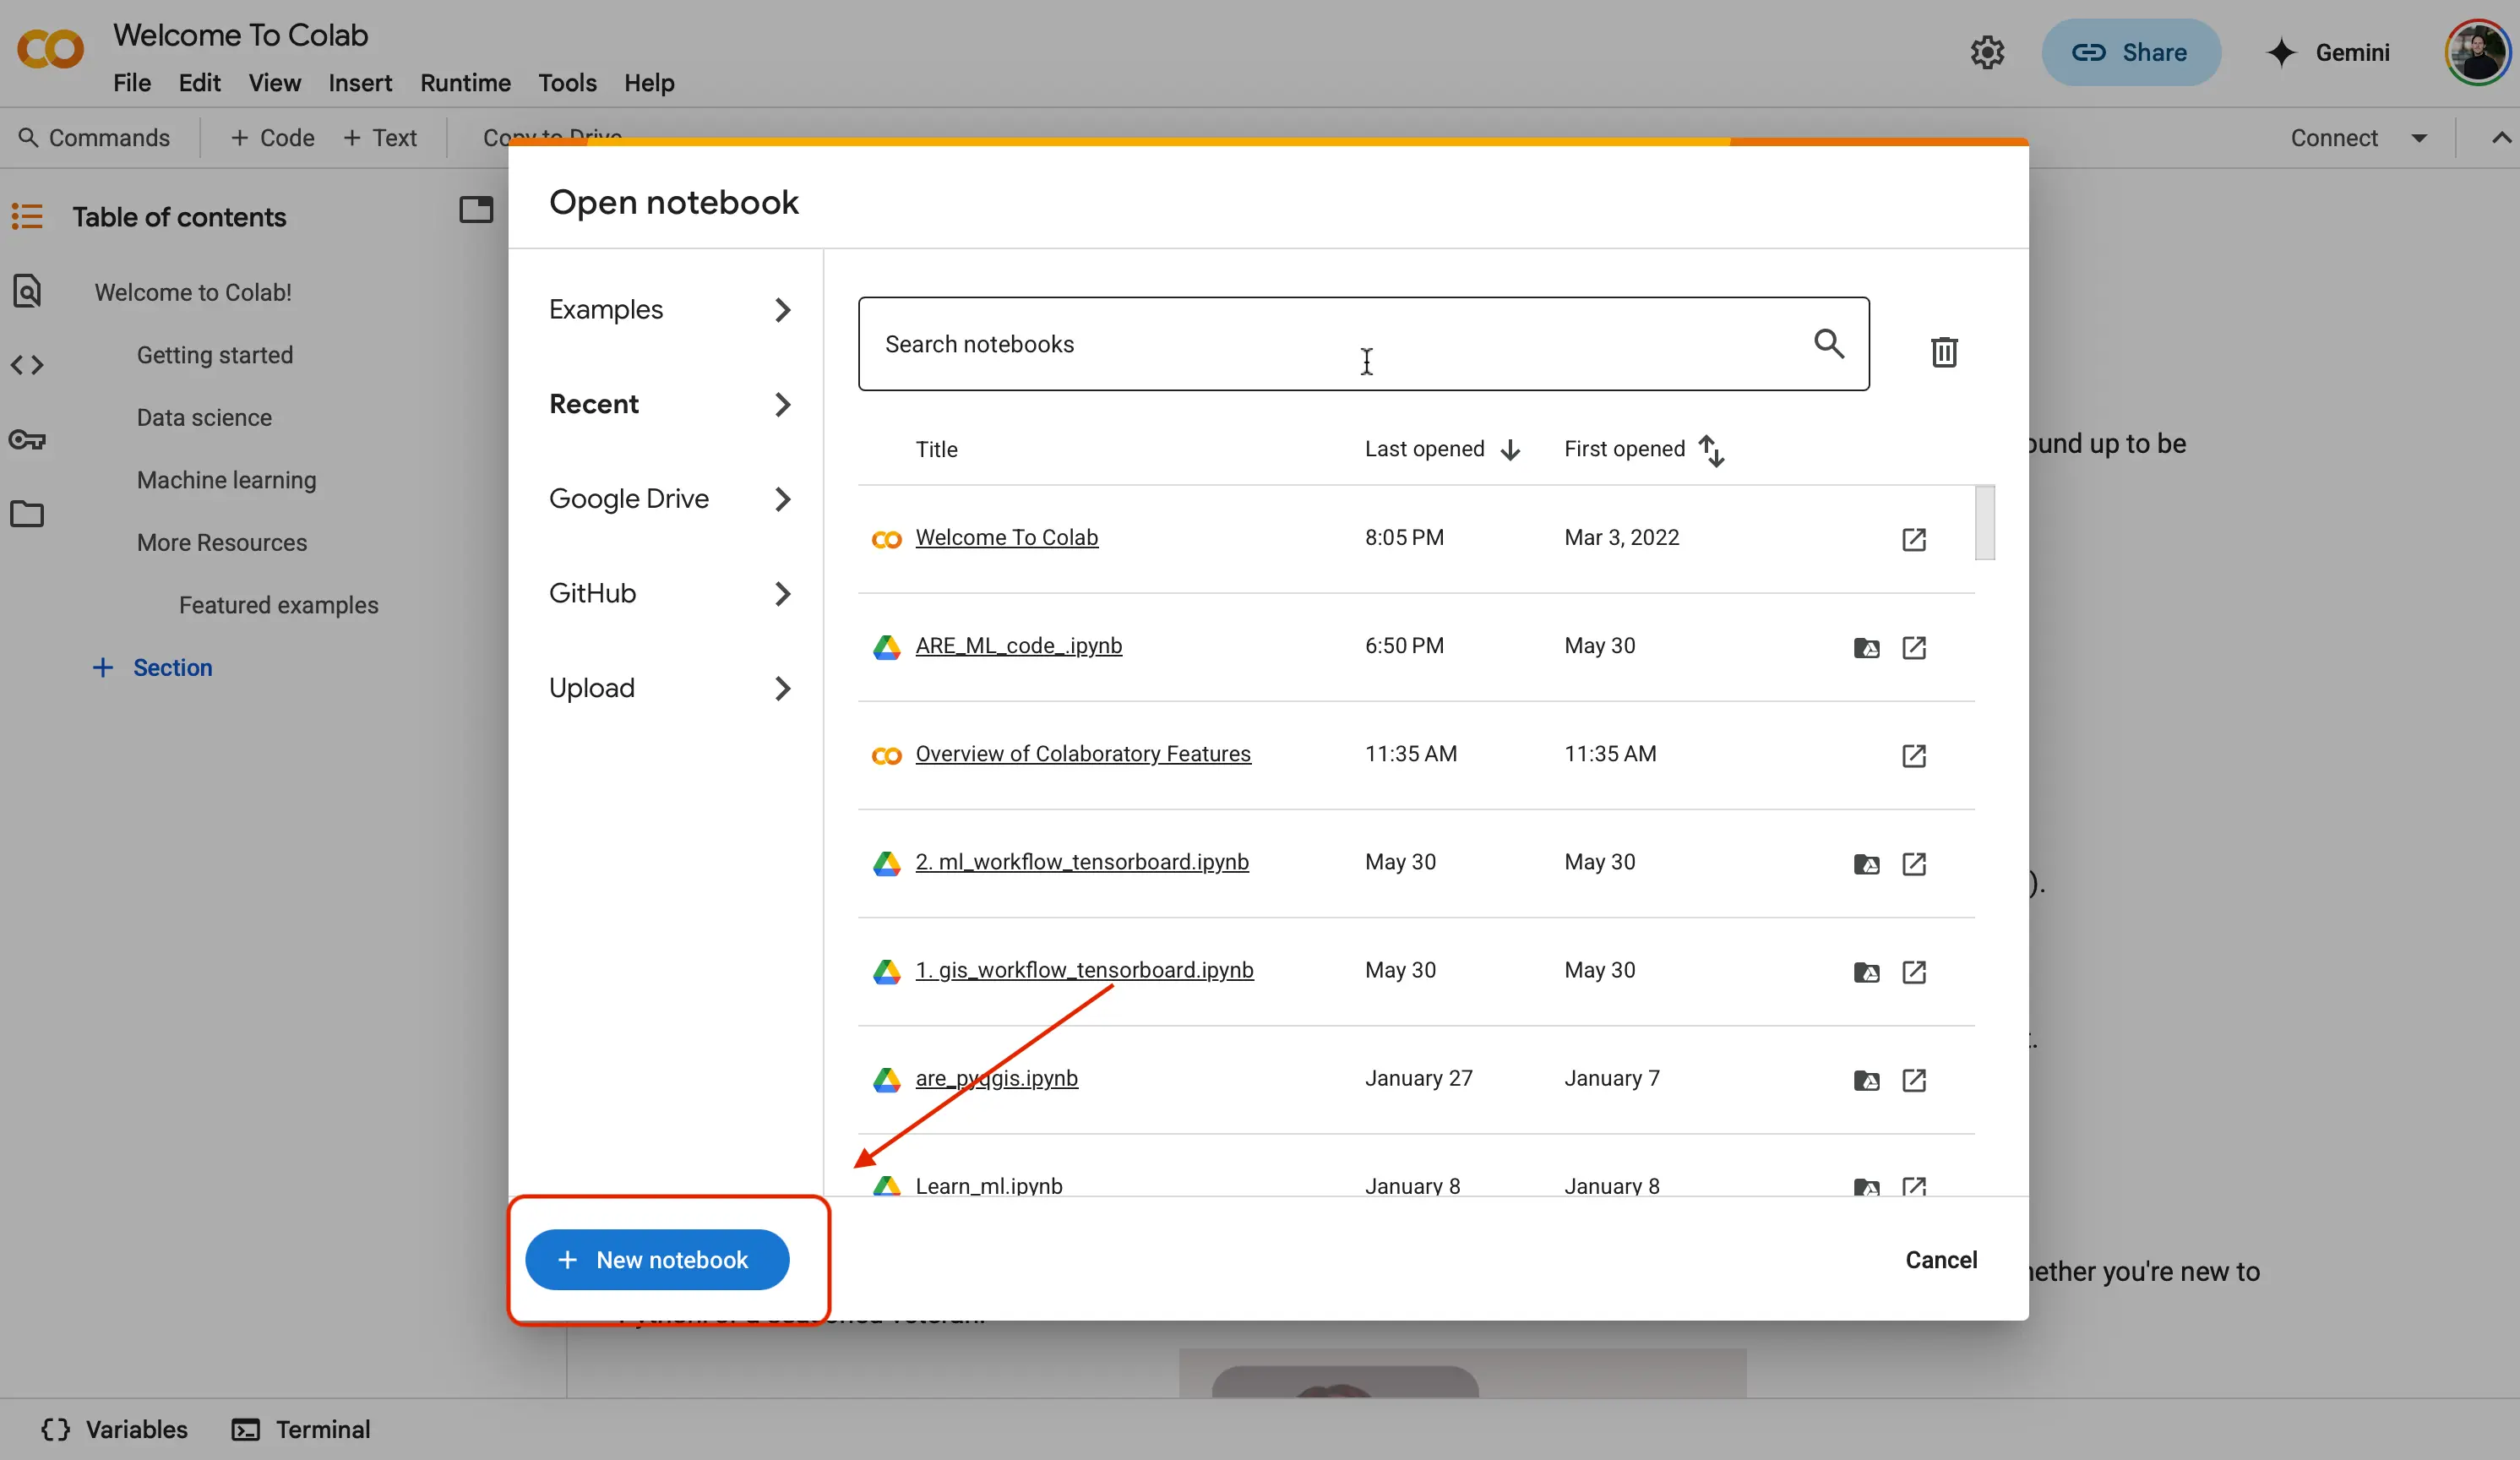
You should know!
Sometimes this process may take a while to load. You are accessing Google Cloud, and it may take awhile to ping their servers. No need to panic!
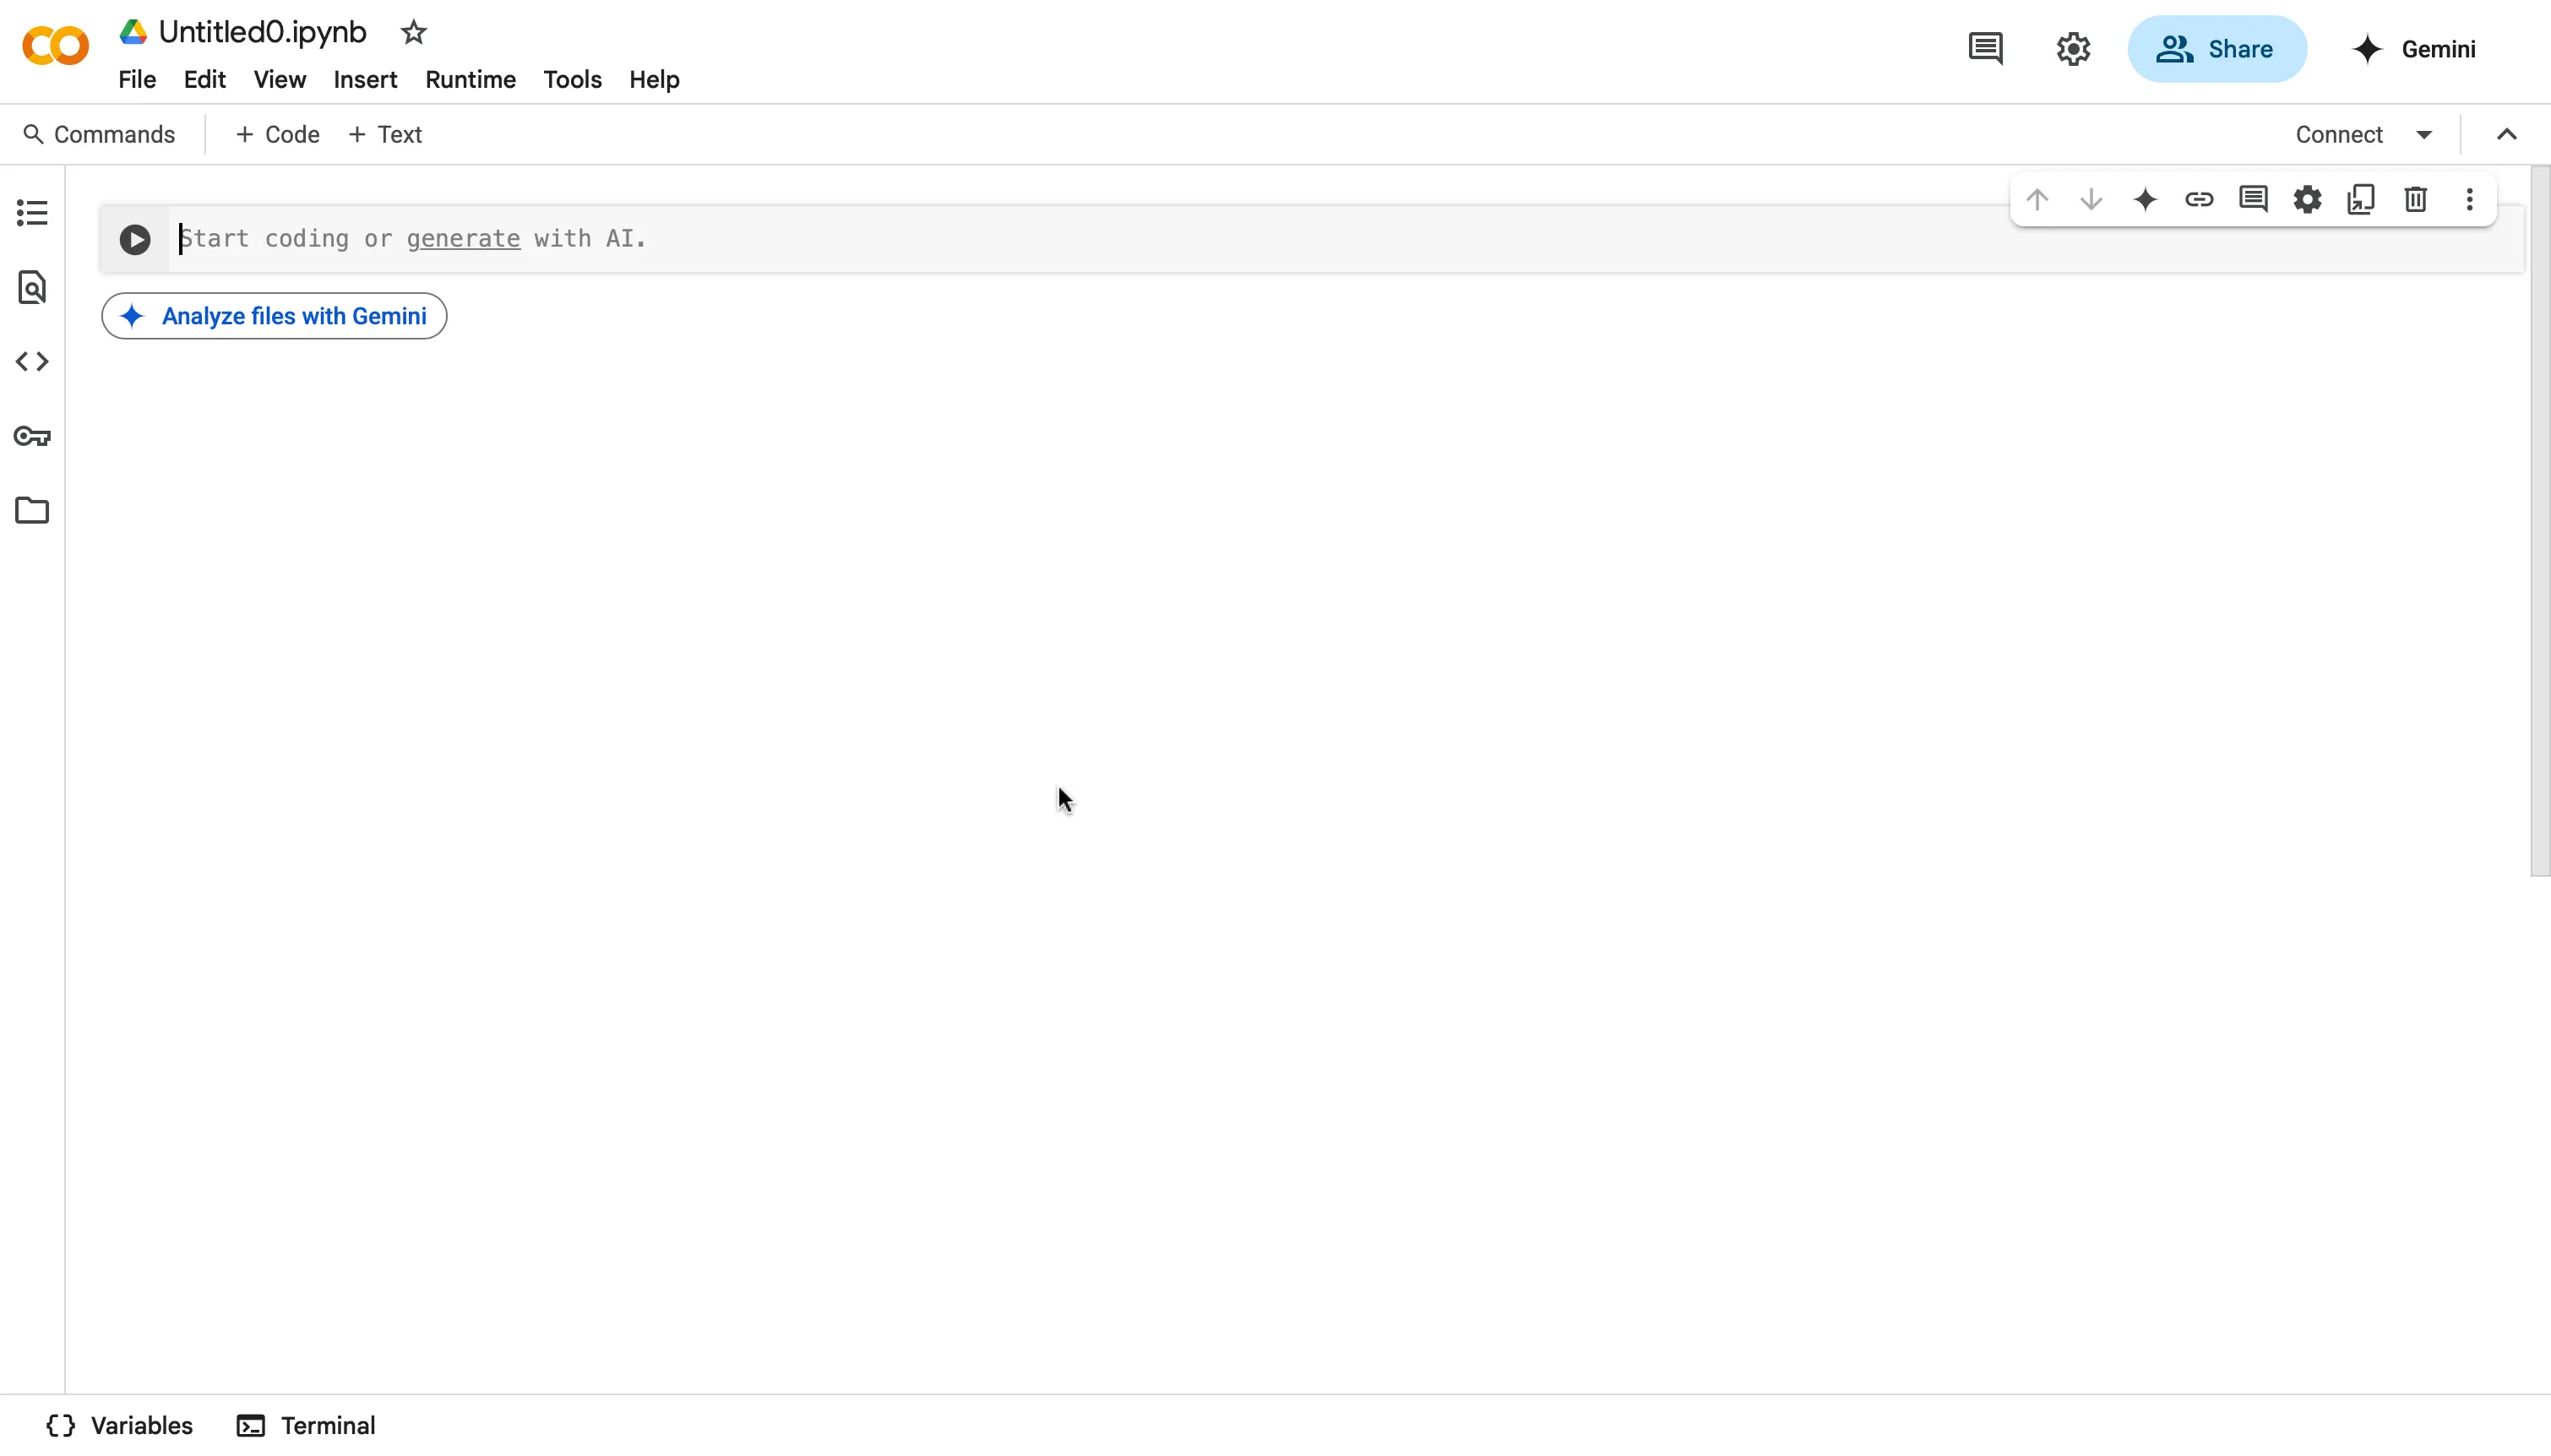
Once you have created a new notebook, you are now going to see an empty code editor screen. Congrats! You just created your first notebook file to work with your code in!
Lets test that your environment is working with some sample code!
Testing Sample Code in Colab
Lets start by naming our notebook that we are working in. Navigate to the top left of the screen where it says
Untitled0.ipynb, and name it something you will remember. We are naming oursMy_First_Google_Notebook.ipynb.Important
Make sure when renaming your file, that you keep the
.ipynbfile extension. The file will not save correctly without it! The.ipynblets your computer know what kind of file it is.
In order to run our code in the online environment, we are going to have to connect to a hosted runtime so our code executes. Navigate to the top right of the screen where it says
Connect. When selected, then clickConnect to a hosted runtime.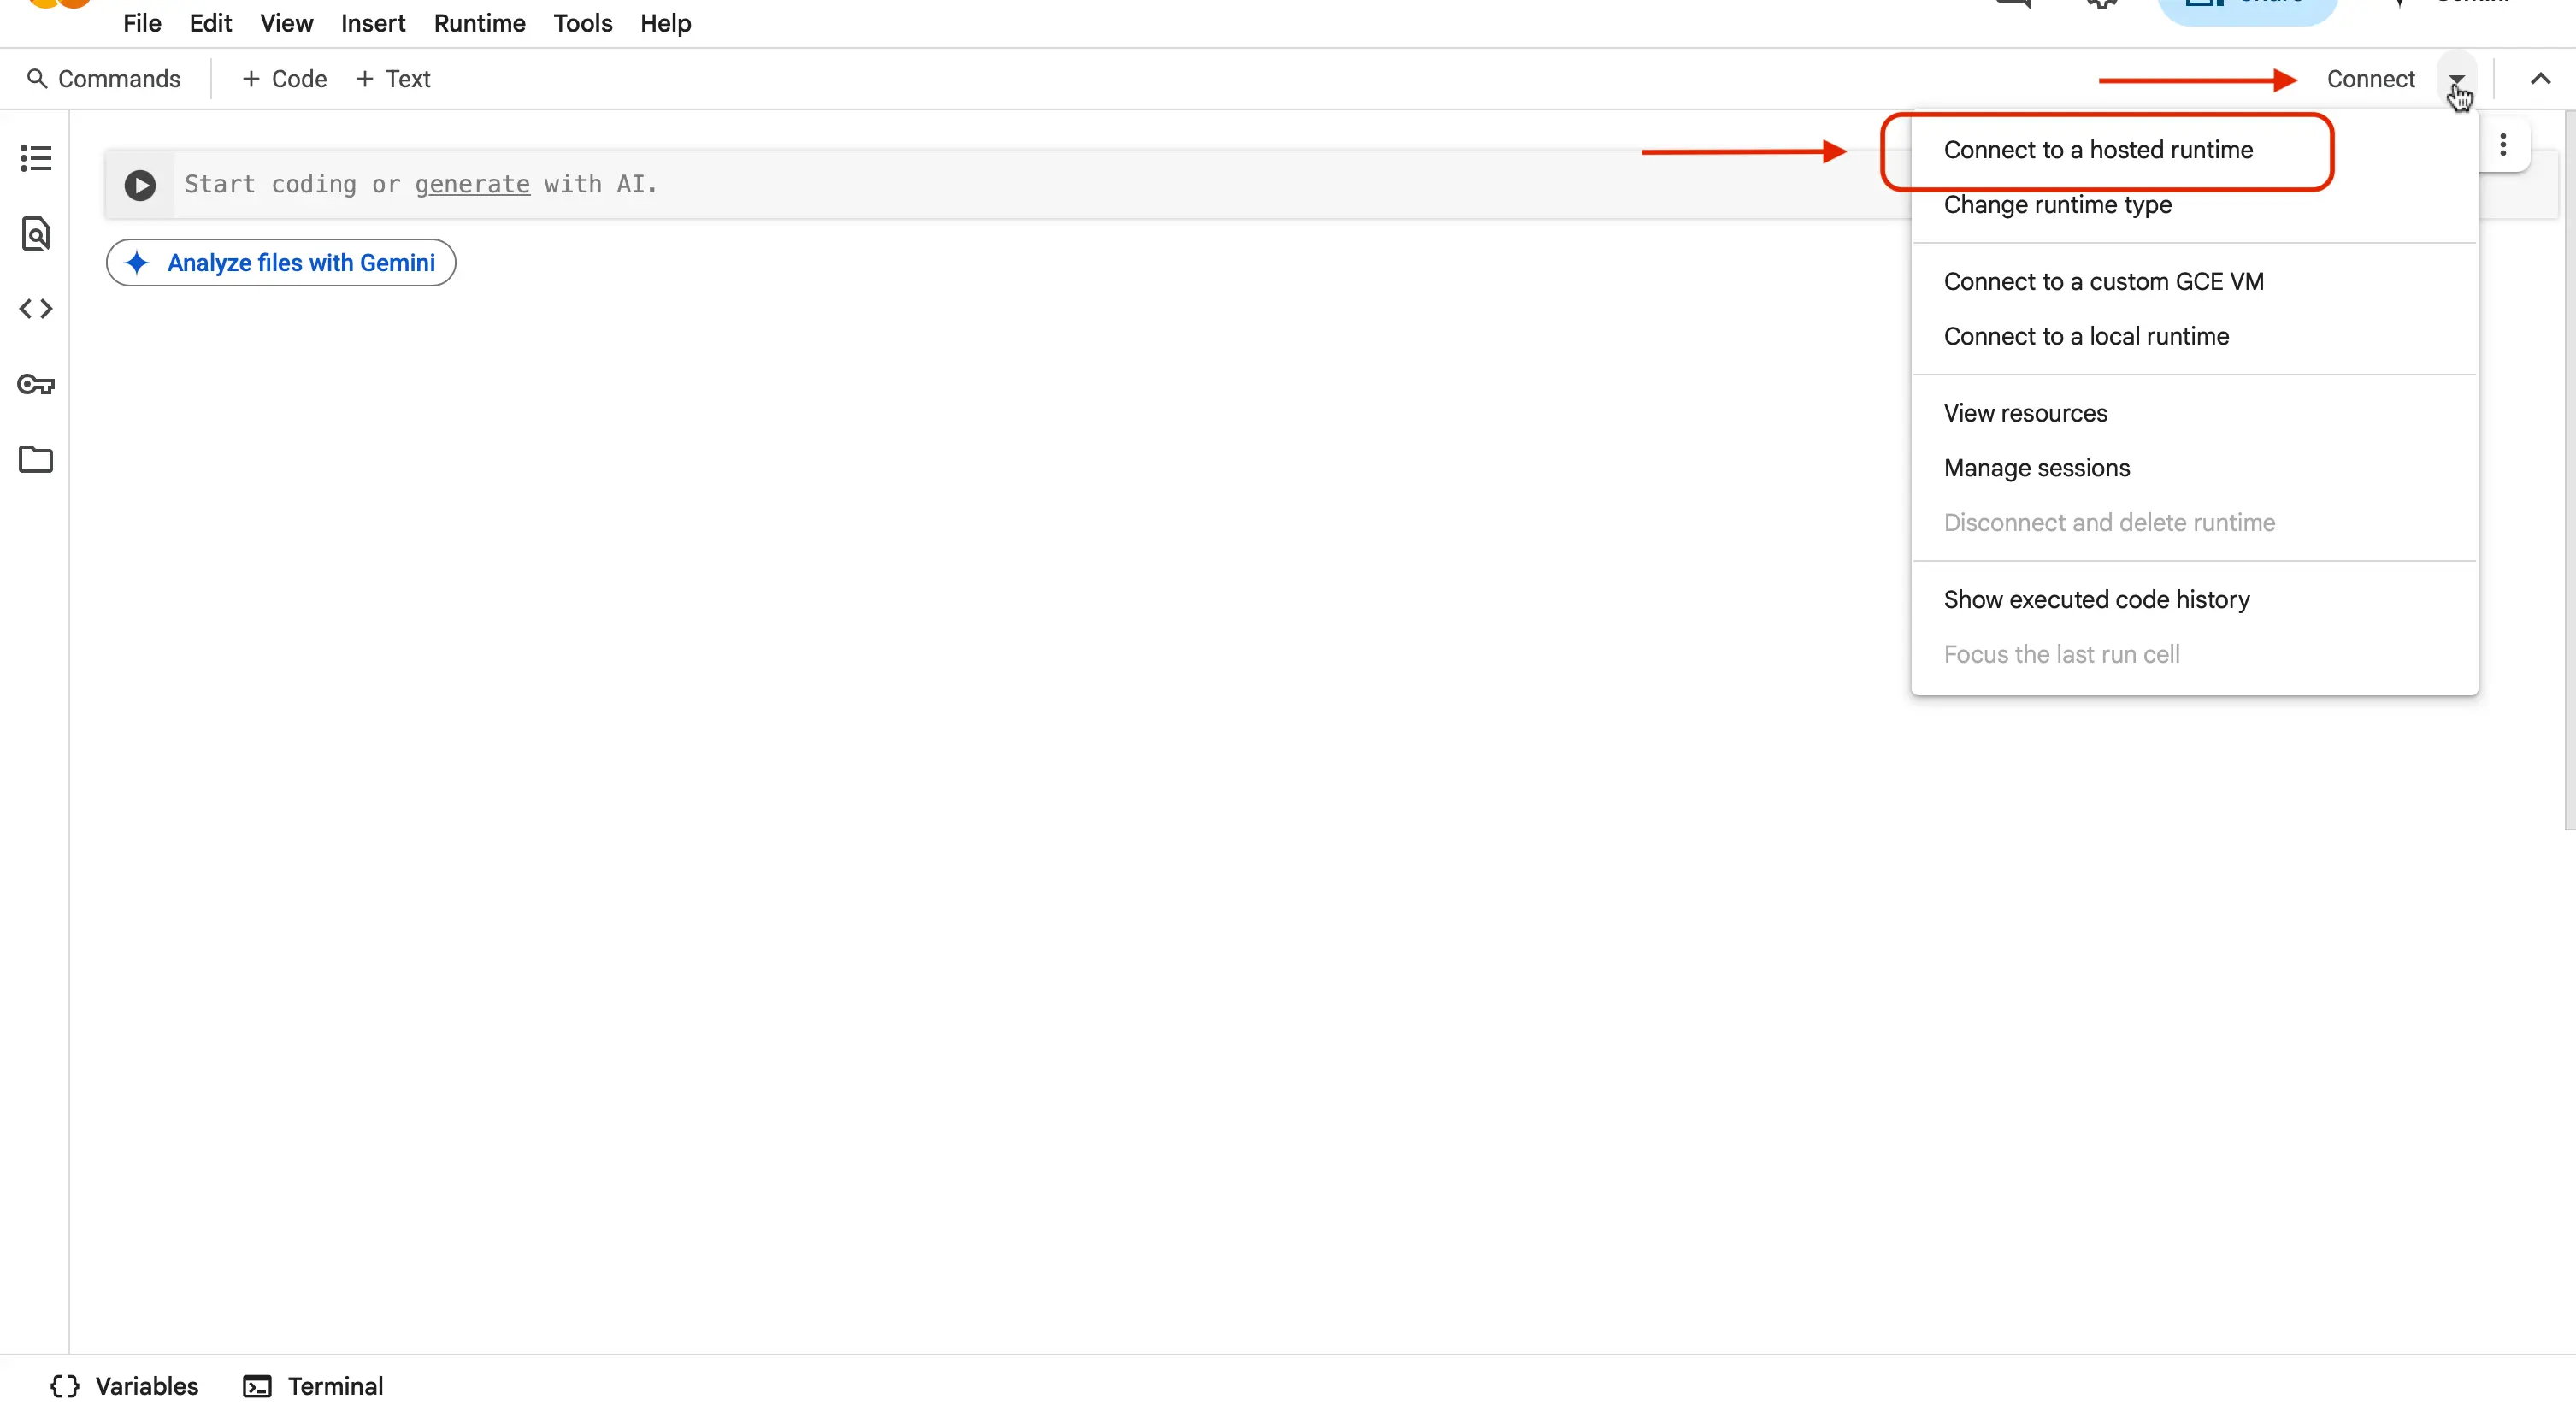
You should know!
A hosted runtime is a cloud-based environment managed by the service provider where your code automatically runs without you having to set up or maintain the underlying servers. It may take a minute for the connection to be made, depending on how strong your wifi network signal is, and how many people are using the Colab service. It could be millions at a time!
While it is loading, you should be seeing a message saying
Connecting....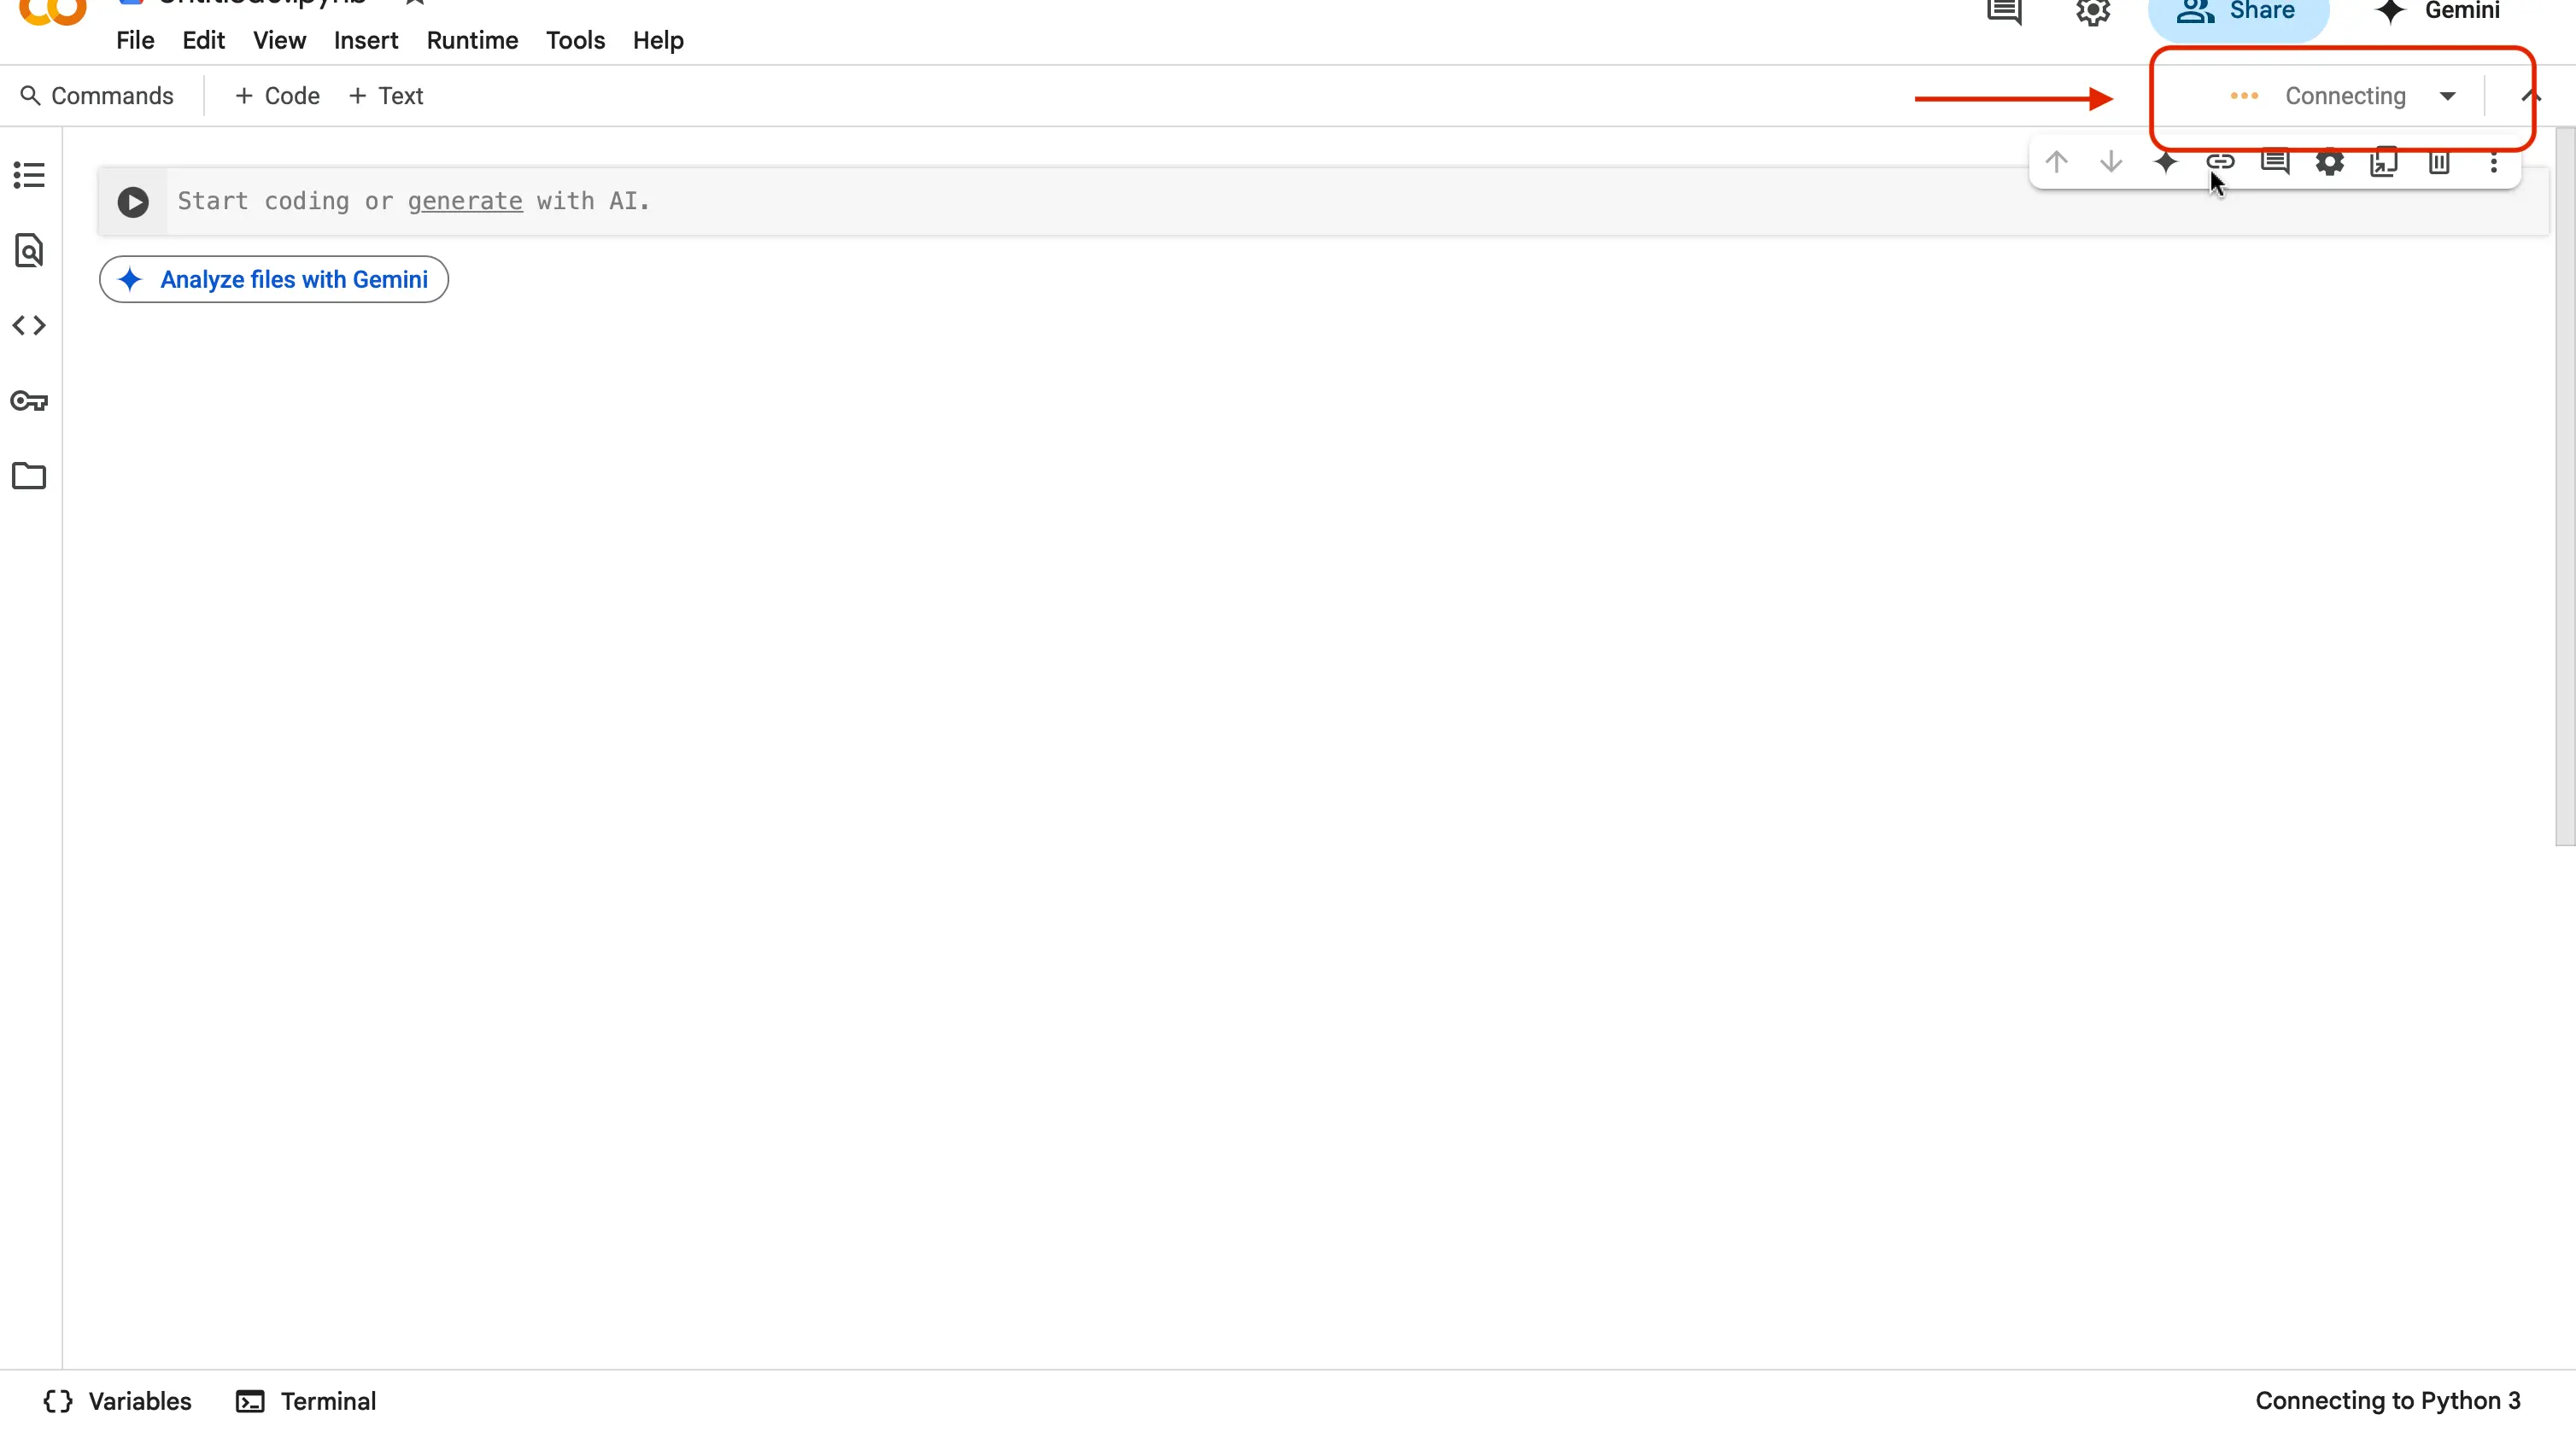
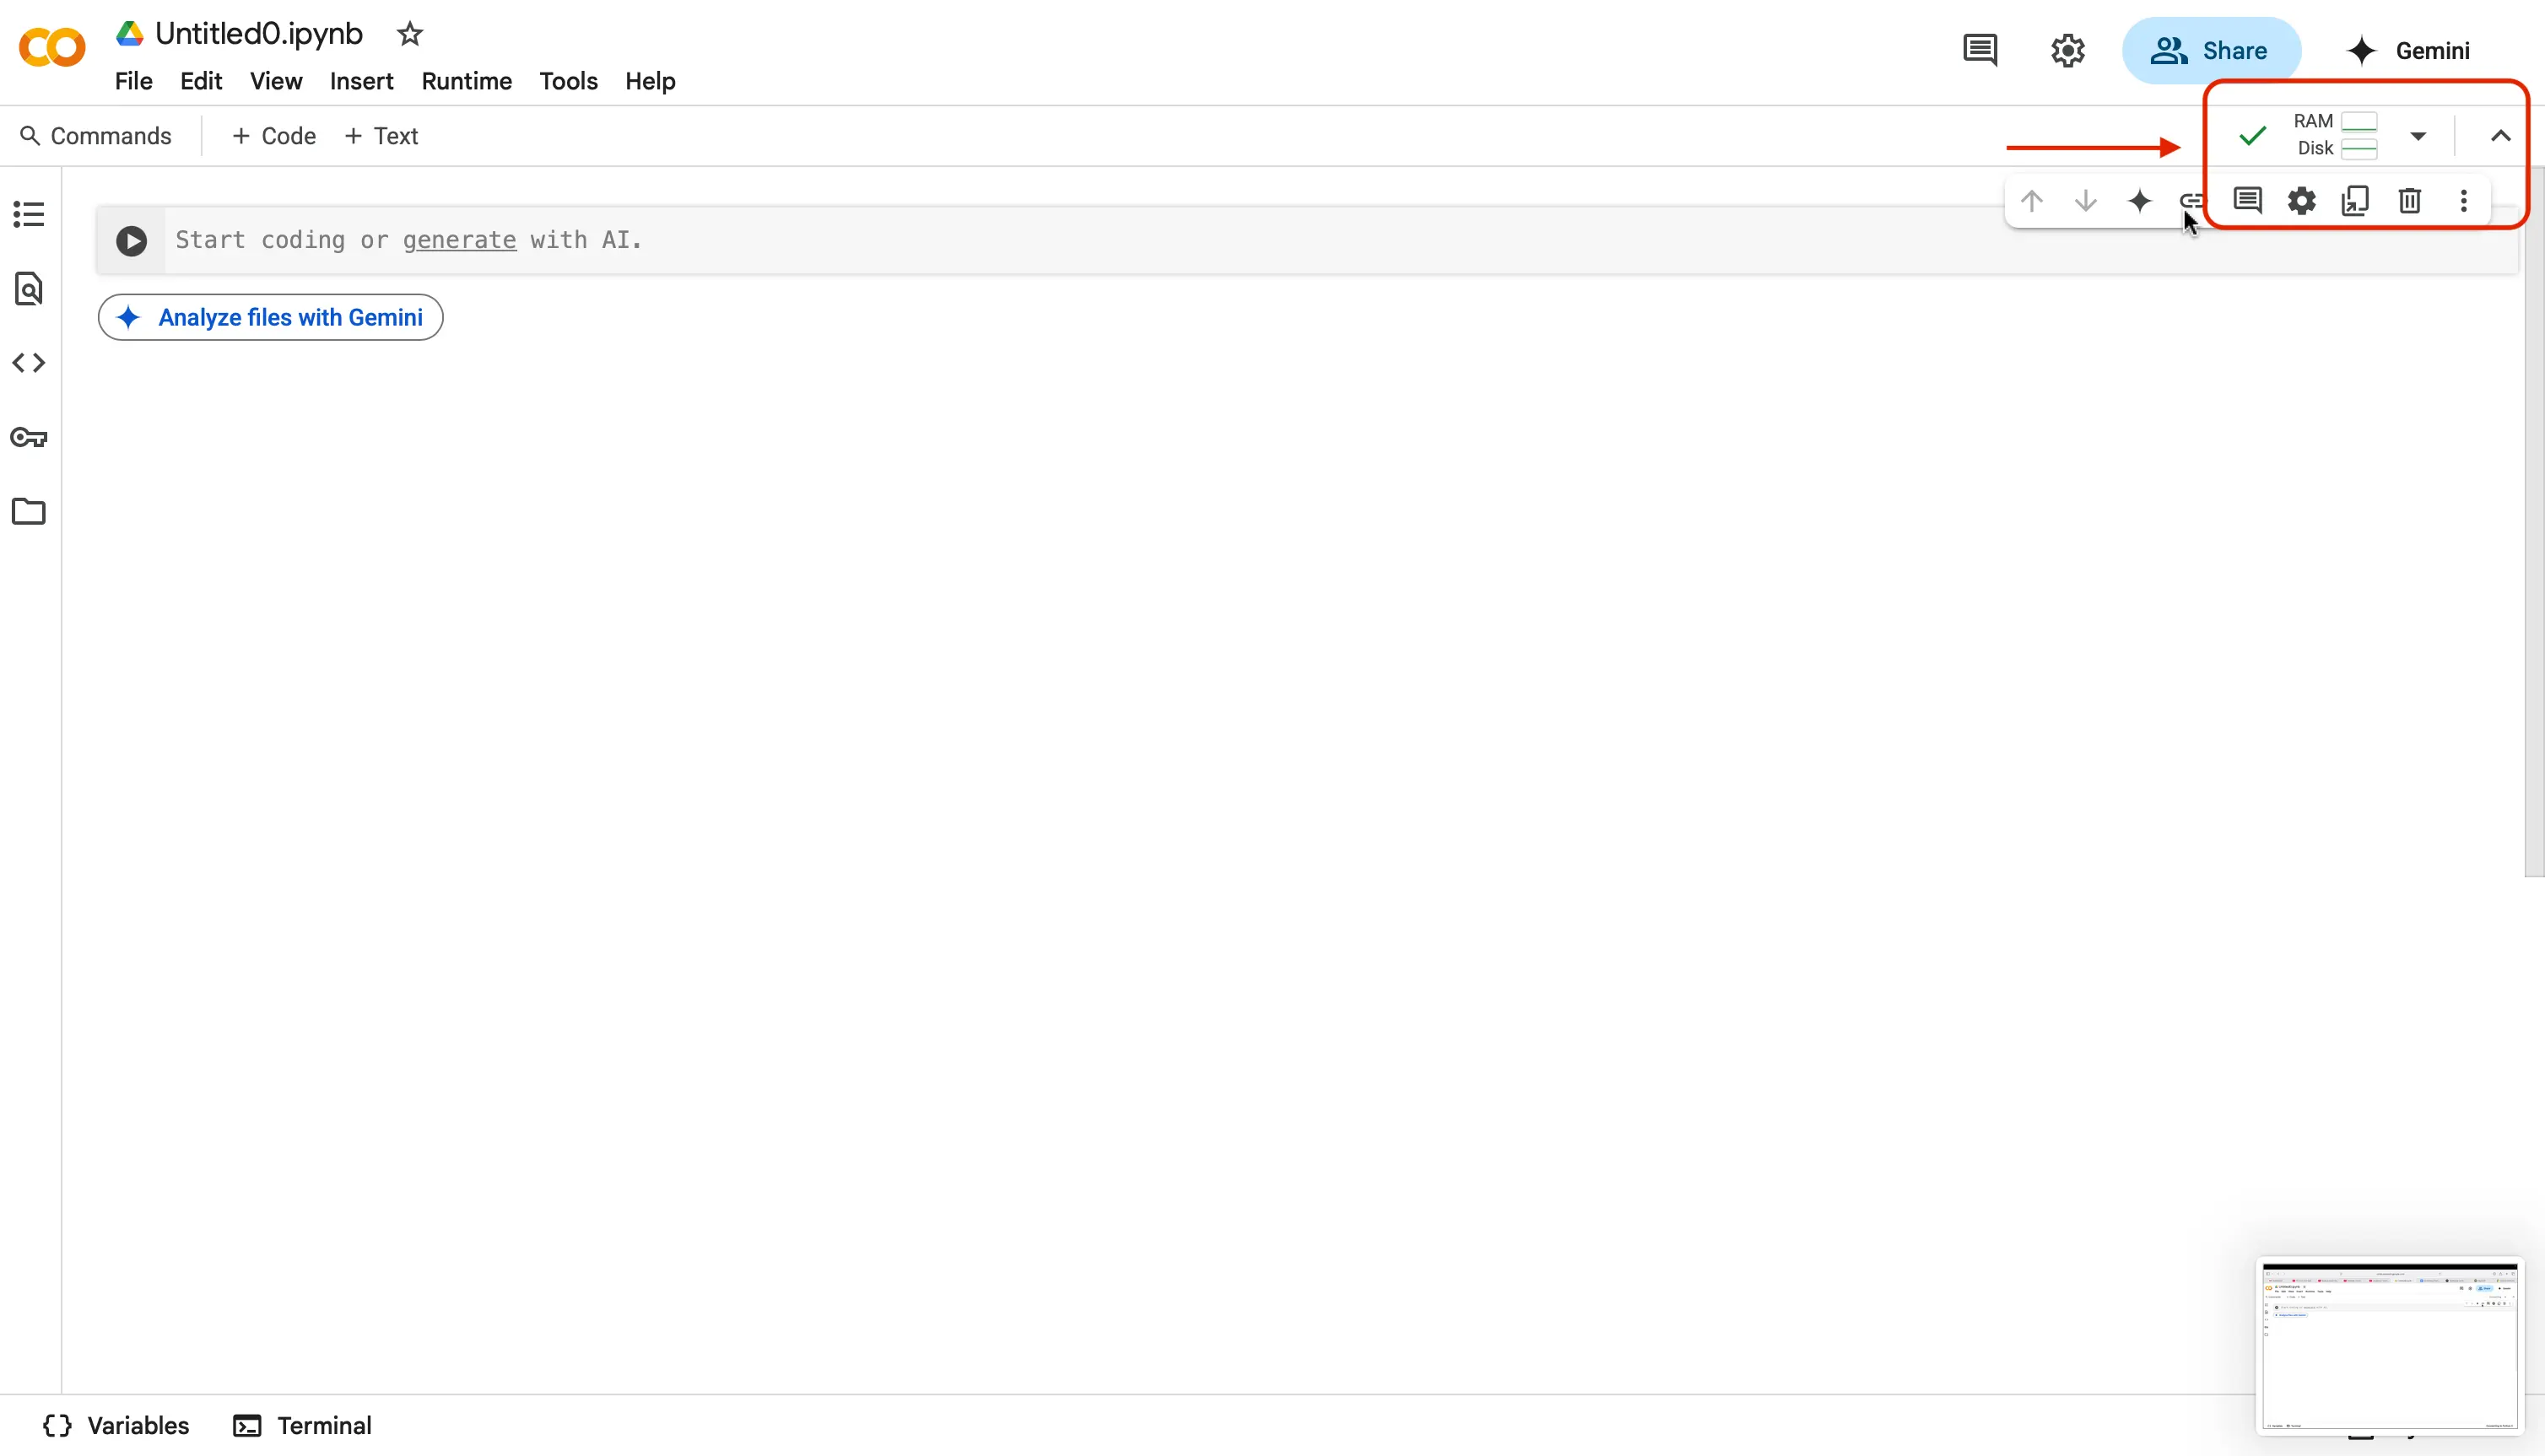
When the process is finished, and you are connected to a runtime, you should now see a green checkmark and the words
RAMandDisk.- RAM (Random Access Memory) shows how much “working memory” your program needs while it’s running.
- Disk shows how much “storage space” it uses to read/write files or save data.
In simple terms, RAM temporarily holds the data your program is actively working with for quick access, while Disk provides longer-term storage for files and data even after your program stops.
By watching these numbers you can tell at a glance whether your code is light and easy for the online system to handle, or if it’s using a lot of resources (which could make it slower or risk hitting limits).
In the world of coding, sometimes to run your workflow, you need to install something called libraries. Libraries are essentially a collection of pre-written code, typically functions or classes, that can be used in multiple programs. It provides a reusable set of tools for common tasks, saving developers time and effort by avoiding the need to reinvent the wheel. Lets try this!
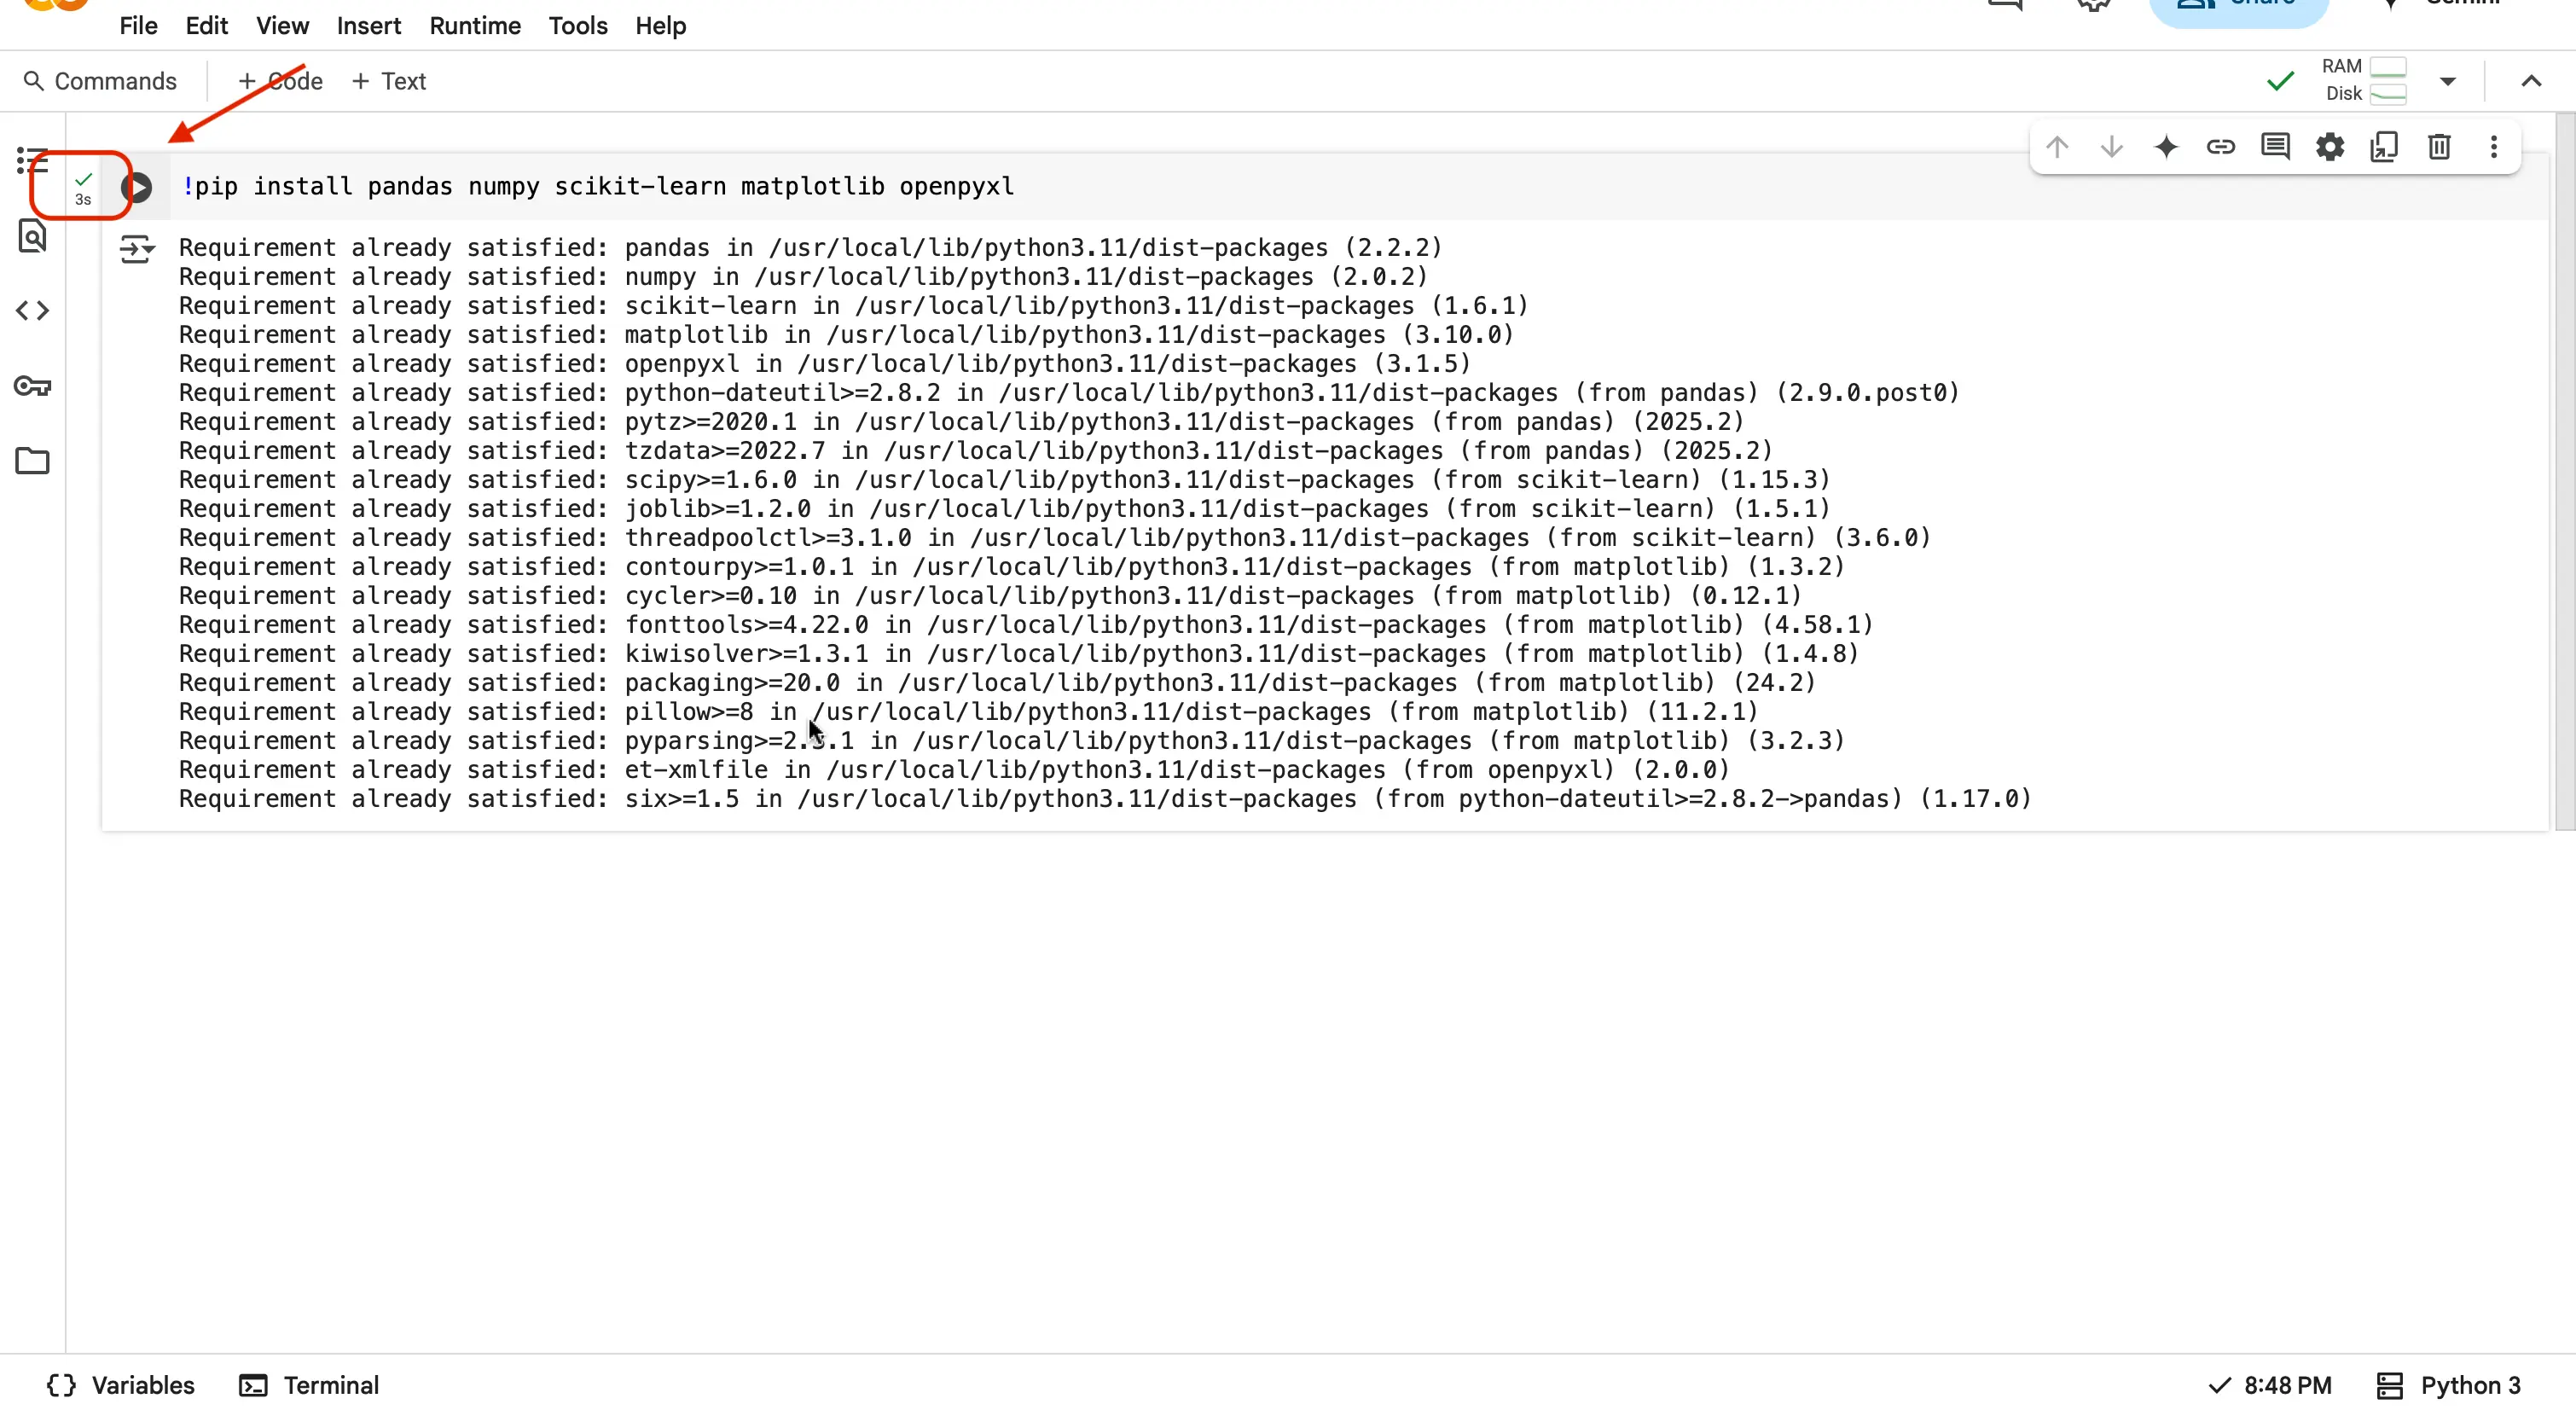
In the first code cell, you are going to type the following:
!pip install pandas numpy scikit-learn matplotlib openpyxlYou may notice that next to the code you just typed in your cell, is a small button with the Play icon. In order to run your code, you can press this button. You should start to see the icon have a loading bar around it when pressed.

Upon successful completion of running your code, you should now see a little green checkmark and the time is took to run the code in milliseconds.
Important
If you get an error, or see a red 'x', go back and check your code. Make sure it was correctly written, and also make sure you have connected to a hosted runtime like we did previously.
Alright! So lets now confirm the libraries are installed by importing them in a new code cell. When you import your newly installed libraries, you are now allowing the code that you write, to access them. You are going to want to create a new cell below the one you just put code in. Do this by navigating to the toolbar and finding the
+ Codebutton. Press this, and you should now see a new empty cell underneath your first cell.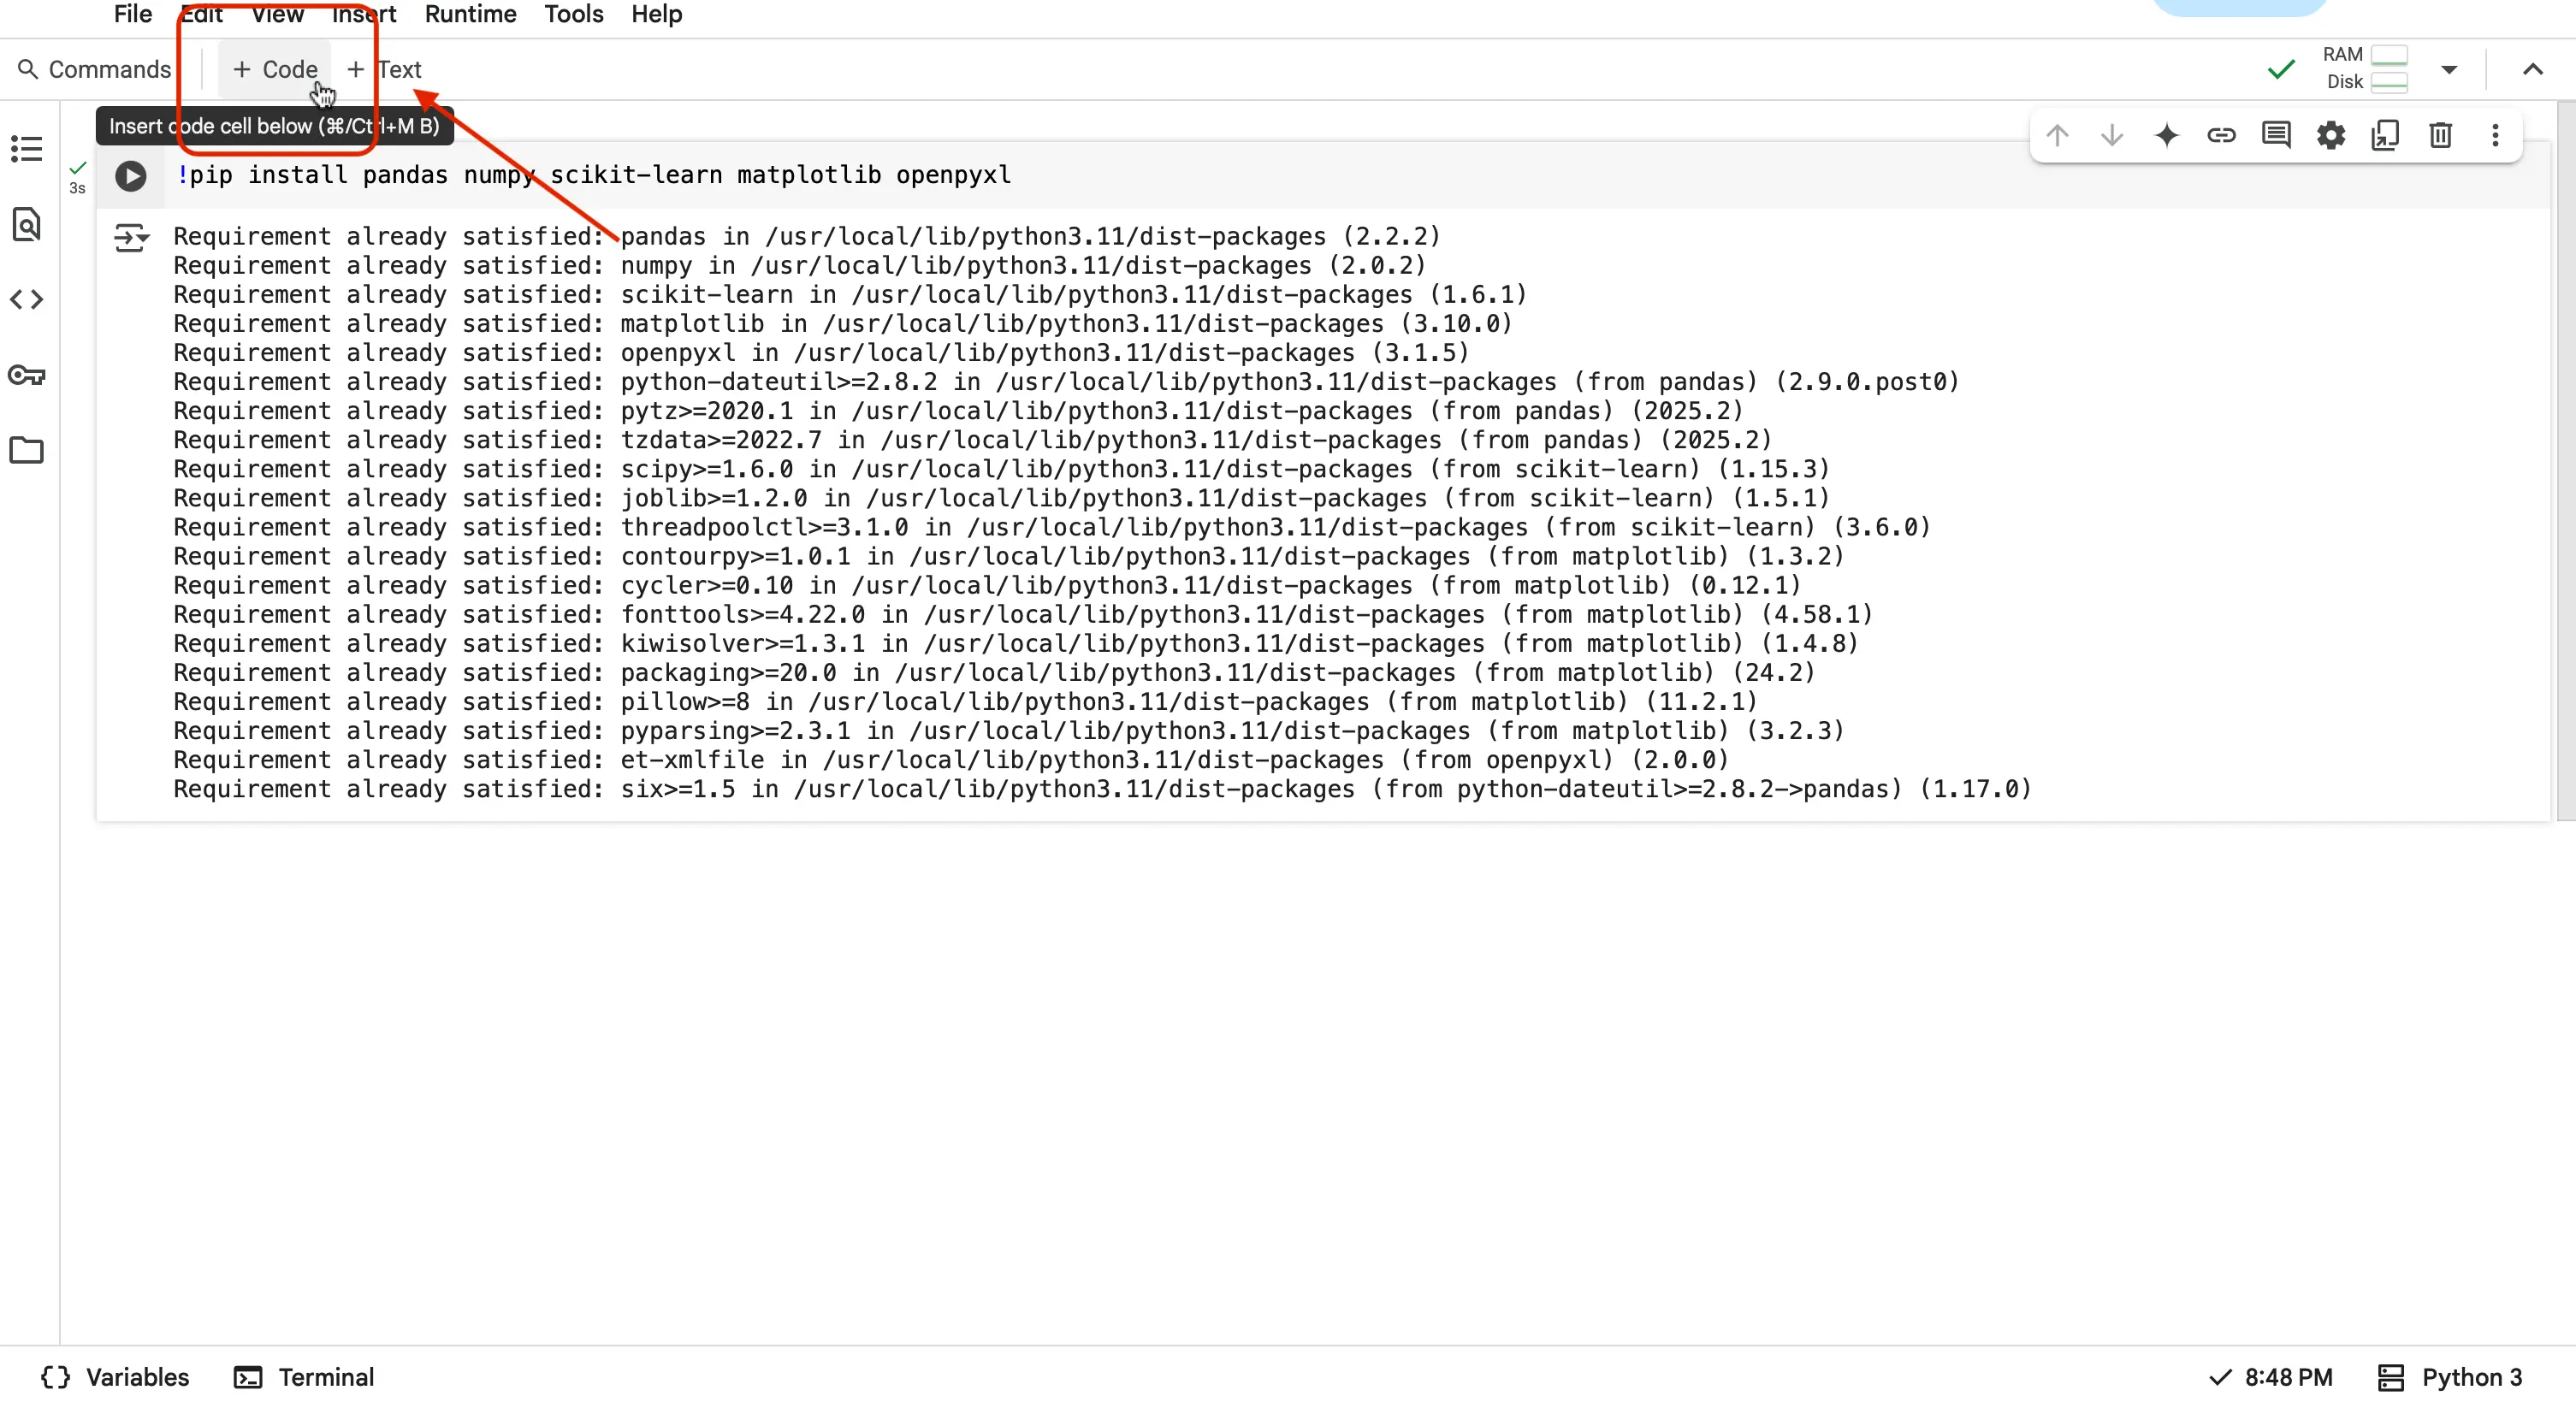
In your newly created code cell, please copy the code below into it and hit the Play button again:
import pandas as pd
import numpy as np
from sklearn.model_selection import train_test_split
Important
Make sure your code is properly aligned and not indented! If your code is not properly aligned, you can run into the following error:
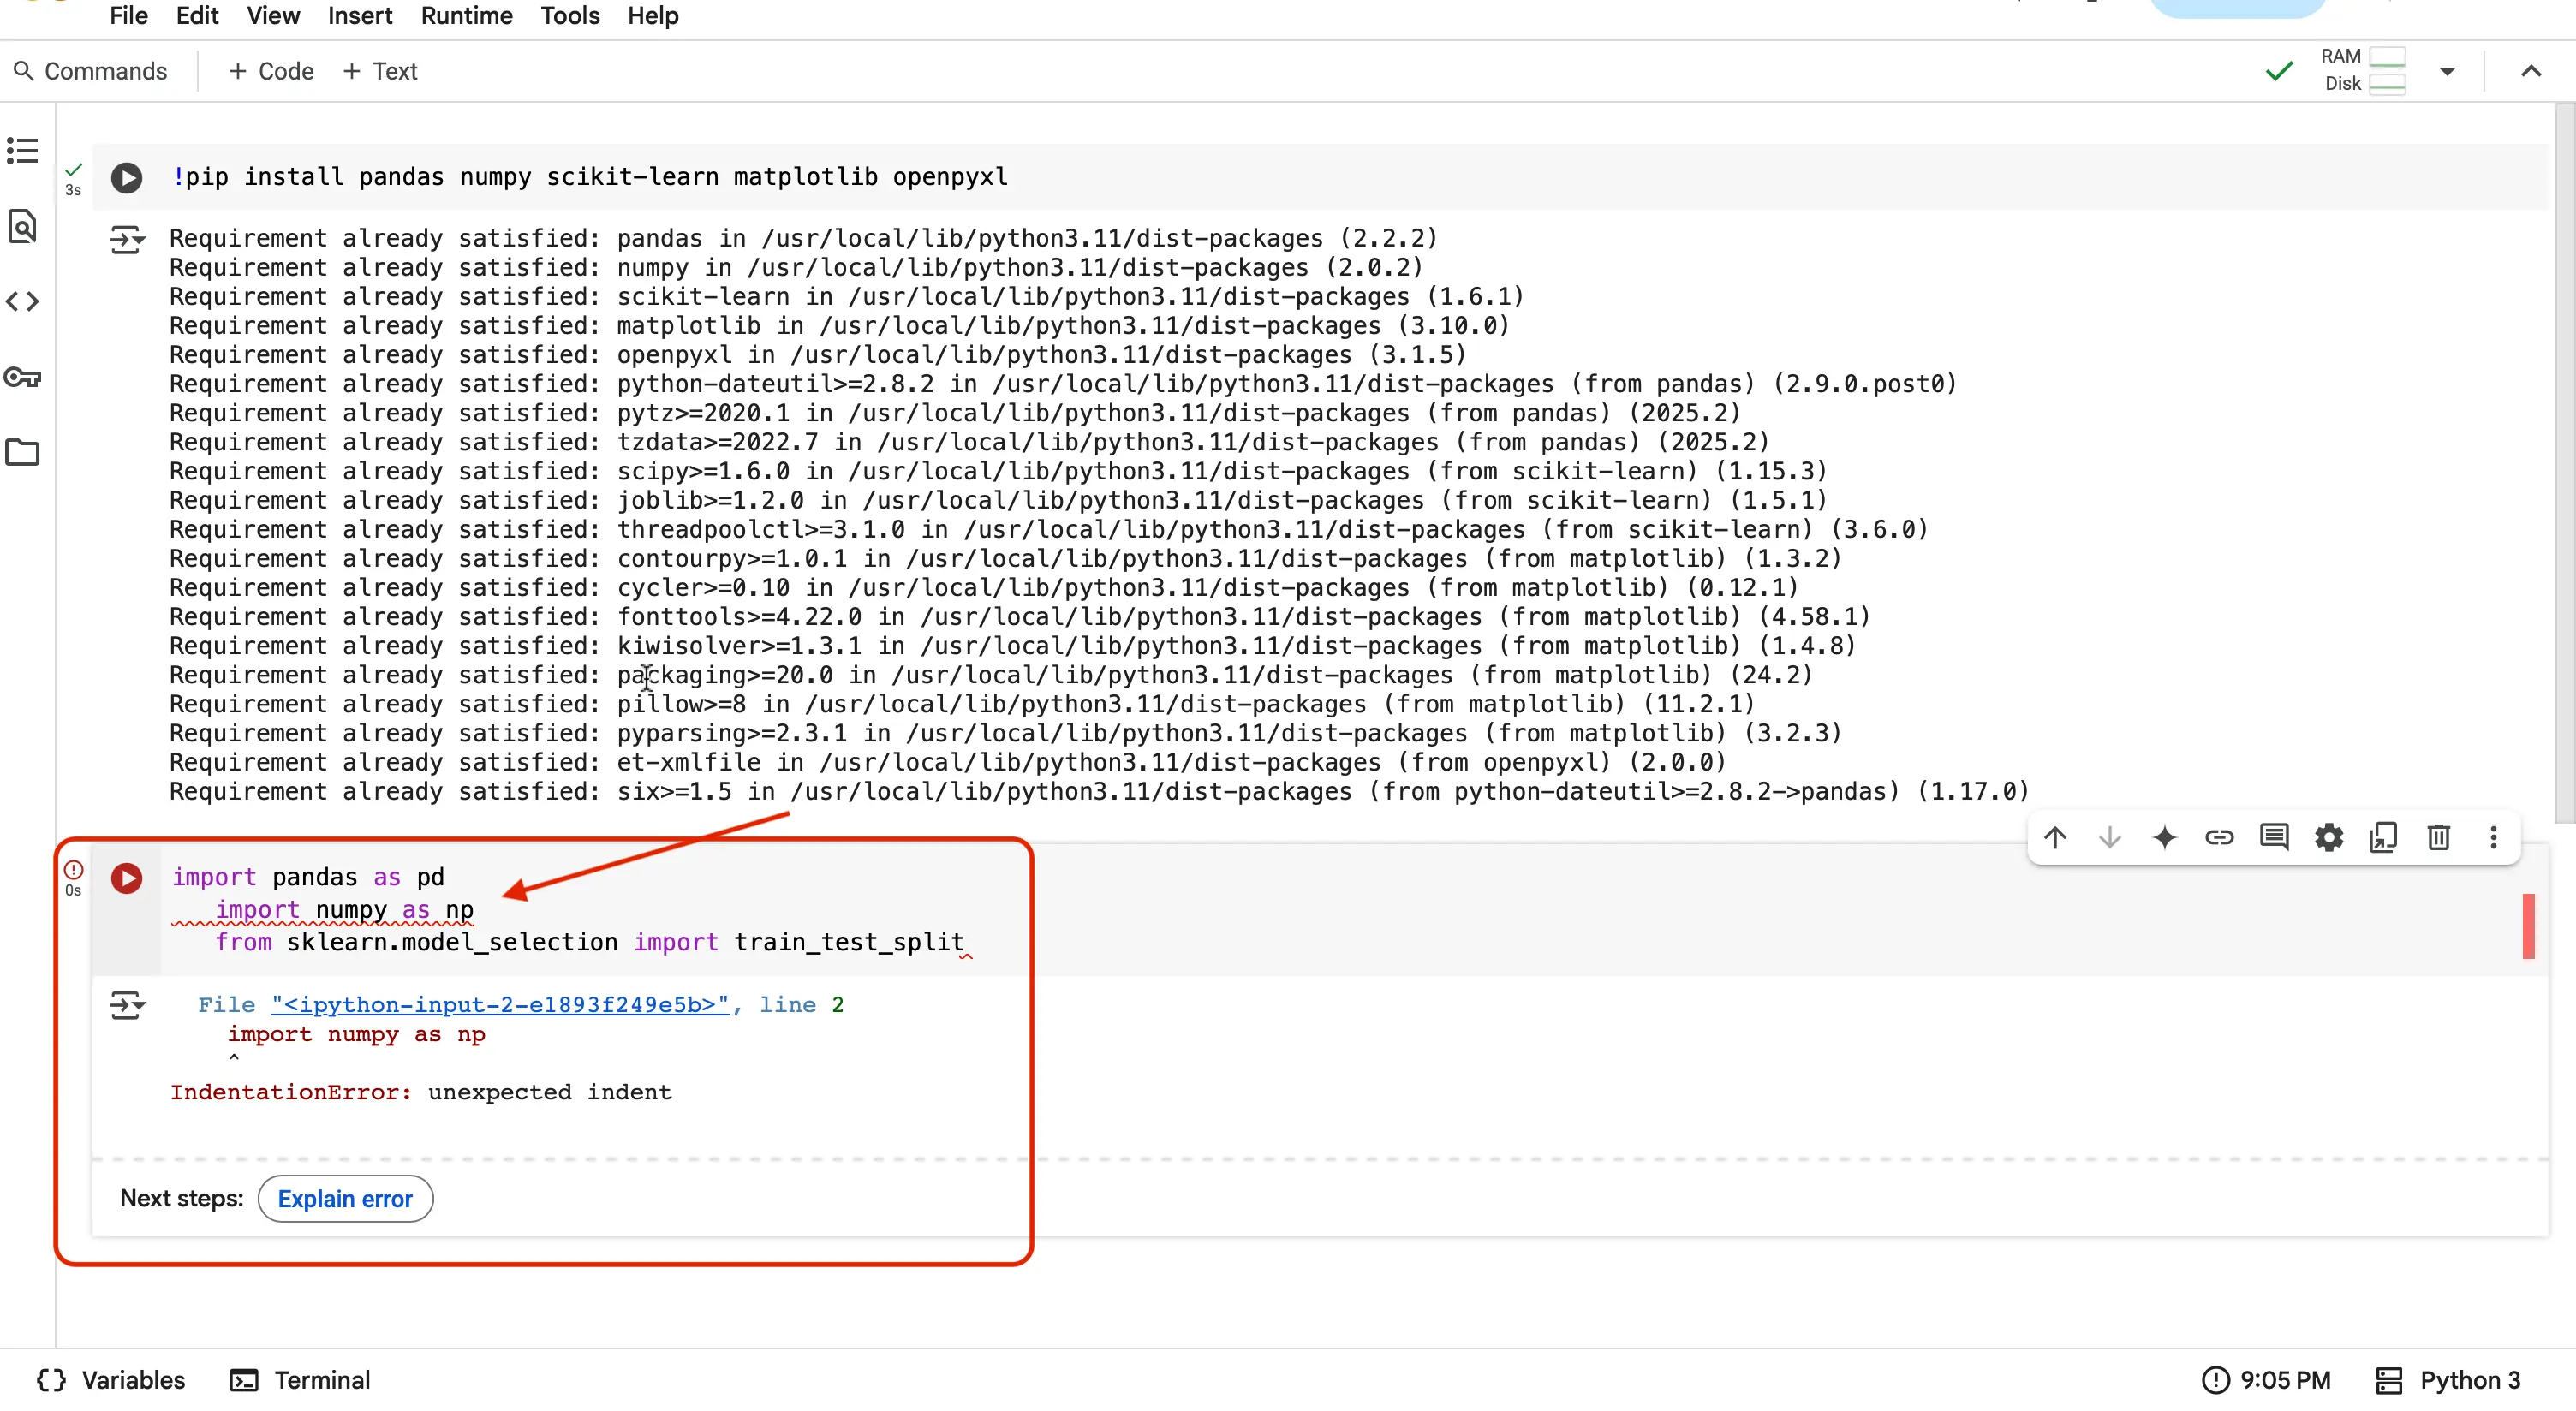
If that was successful and you once again see the mini green checkmark, that means you have successfully now imported your installed libraries into your notebook, to be used by your code! Lets do one last check to make sure.
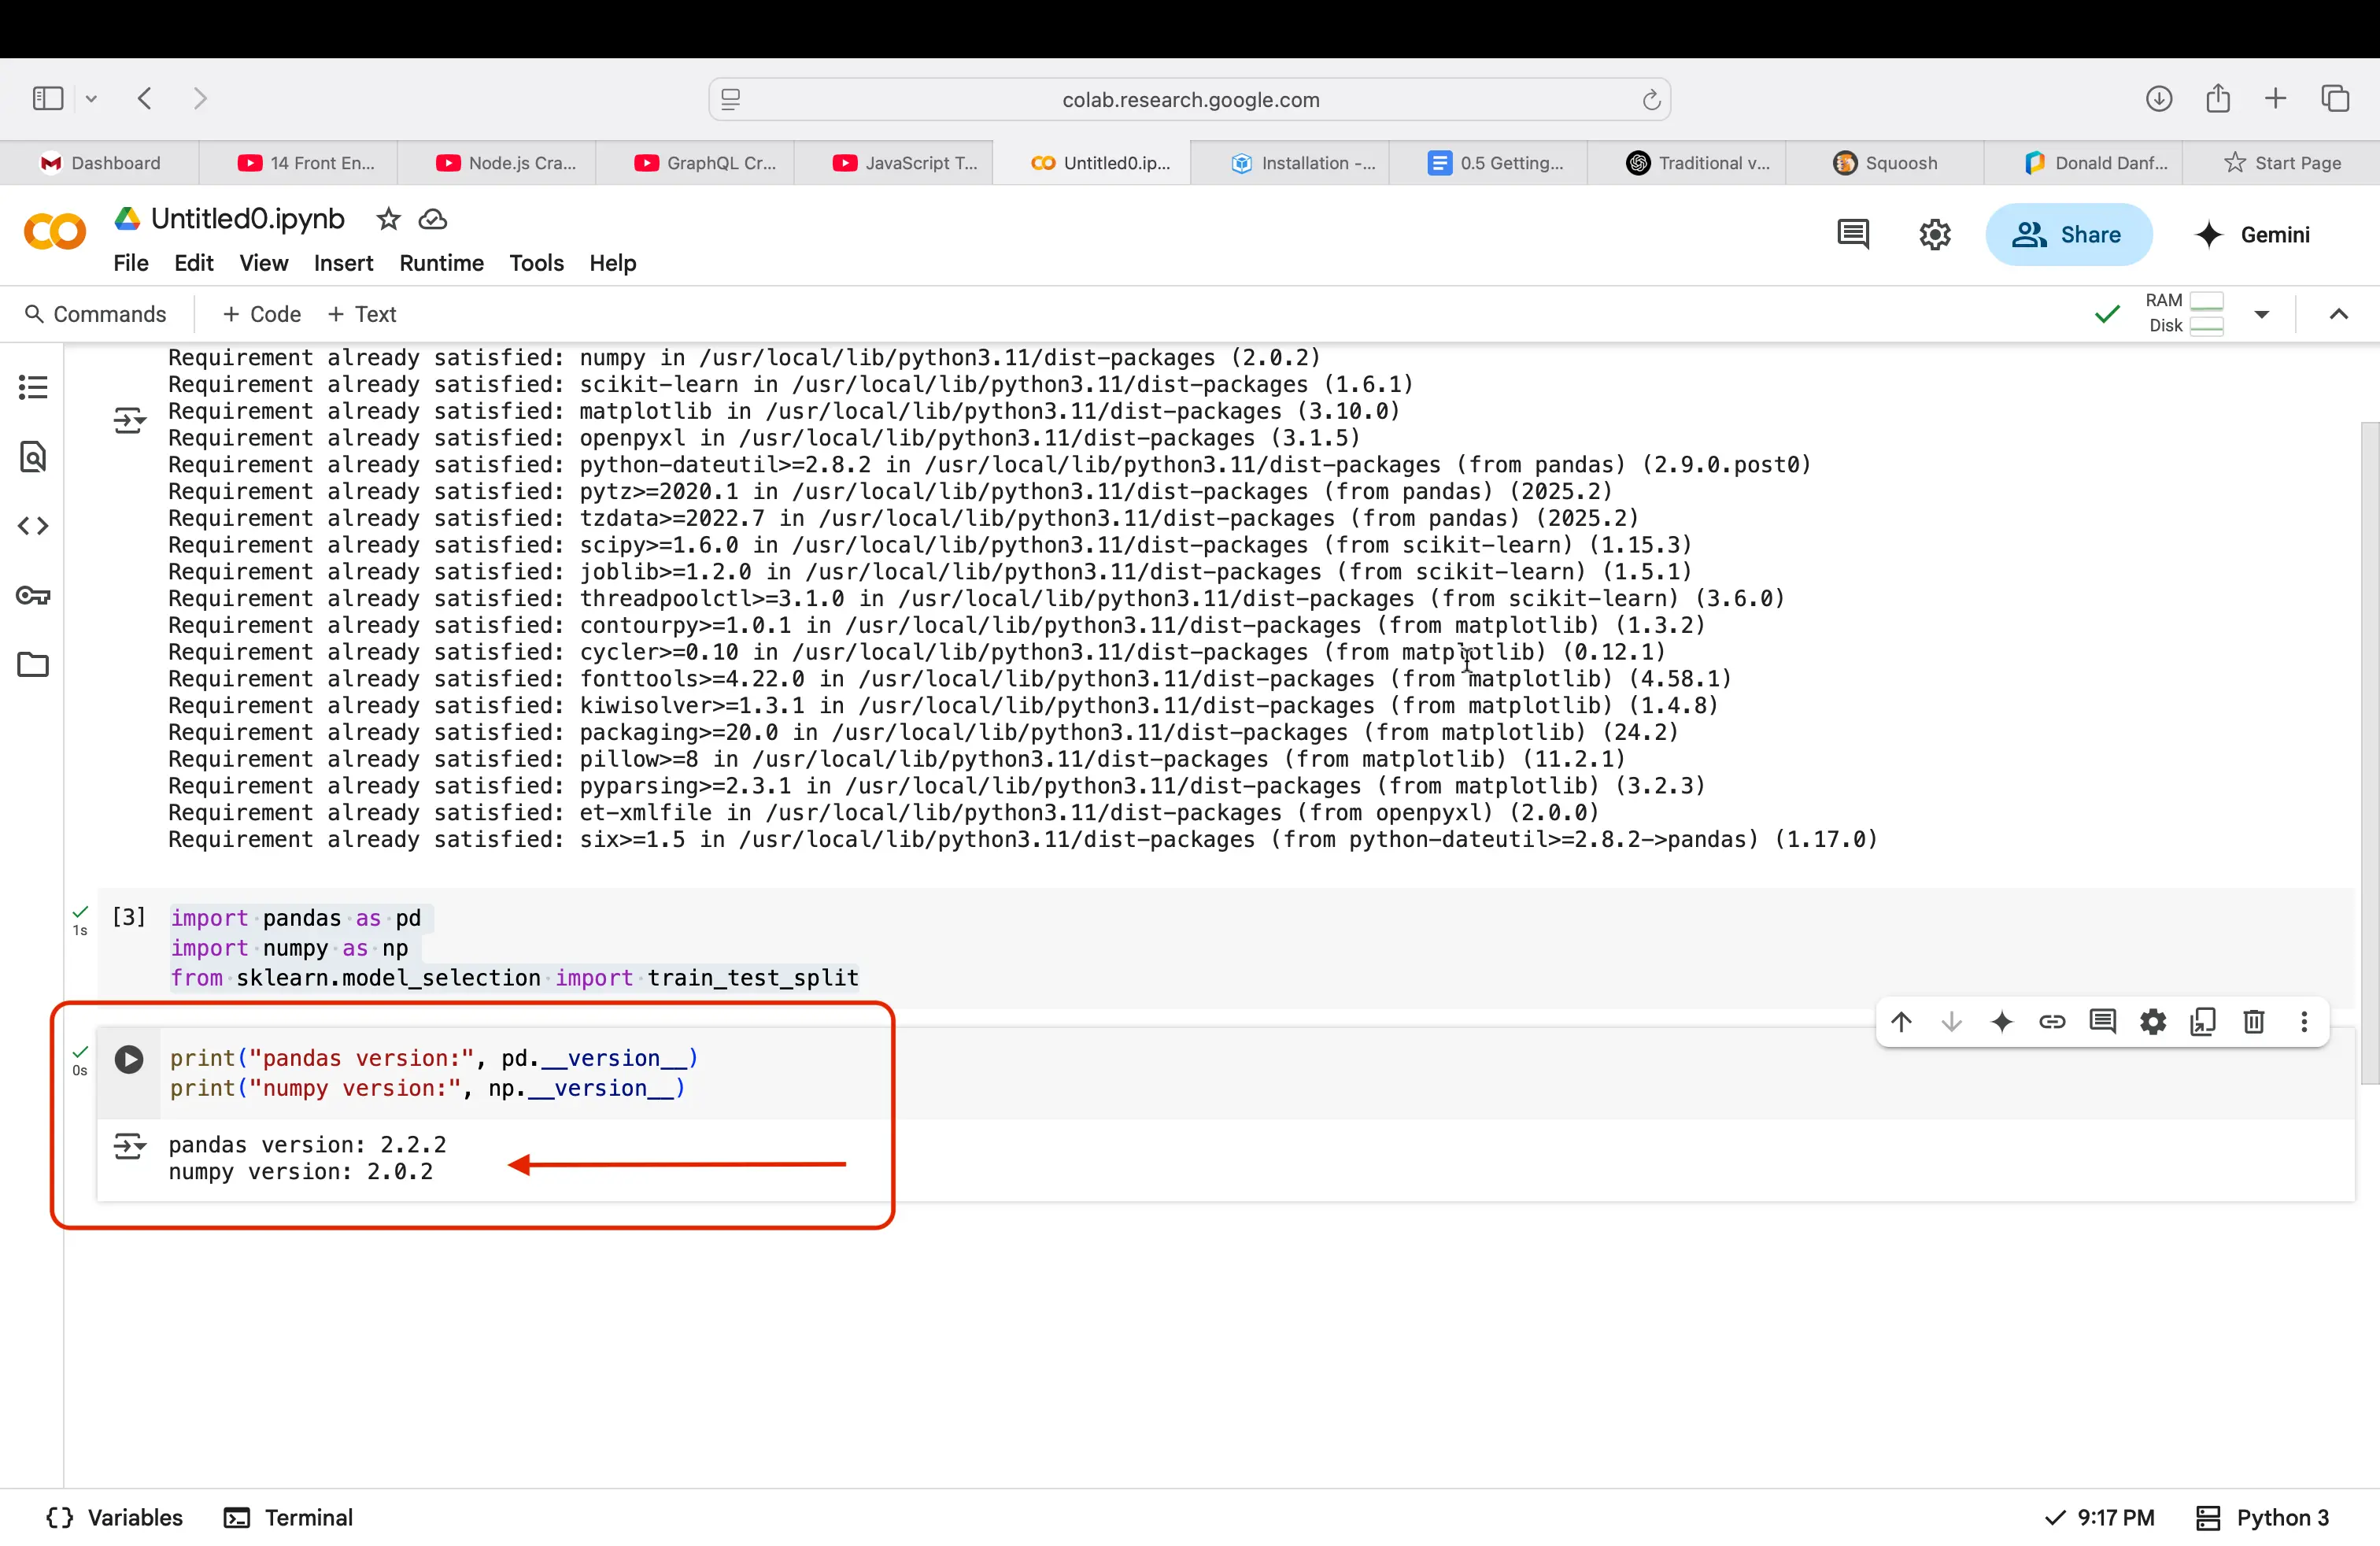
Create one more empty coding cell, and paste the following code into it (remember not to indent!):
   print("pandas version:", pd.__version__)
   print("numpy version:", np.__version__)
If all of the steps above were run successfully, you should now see versions for each of the libraries that we installed into our notebook!
Good Luck!
And thats it! You have covered all of the basics in being able to use and setup Google Colab to successfully complete the rest of the activity with your classmates. With these installations complete, you are ready to start coding and exploring the rest of the project. Happy coding!
Please navigate to the Core Concepts tab if you would like to do a deep dive into the science behind this project!